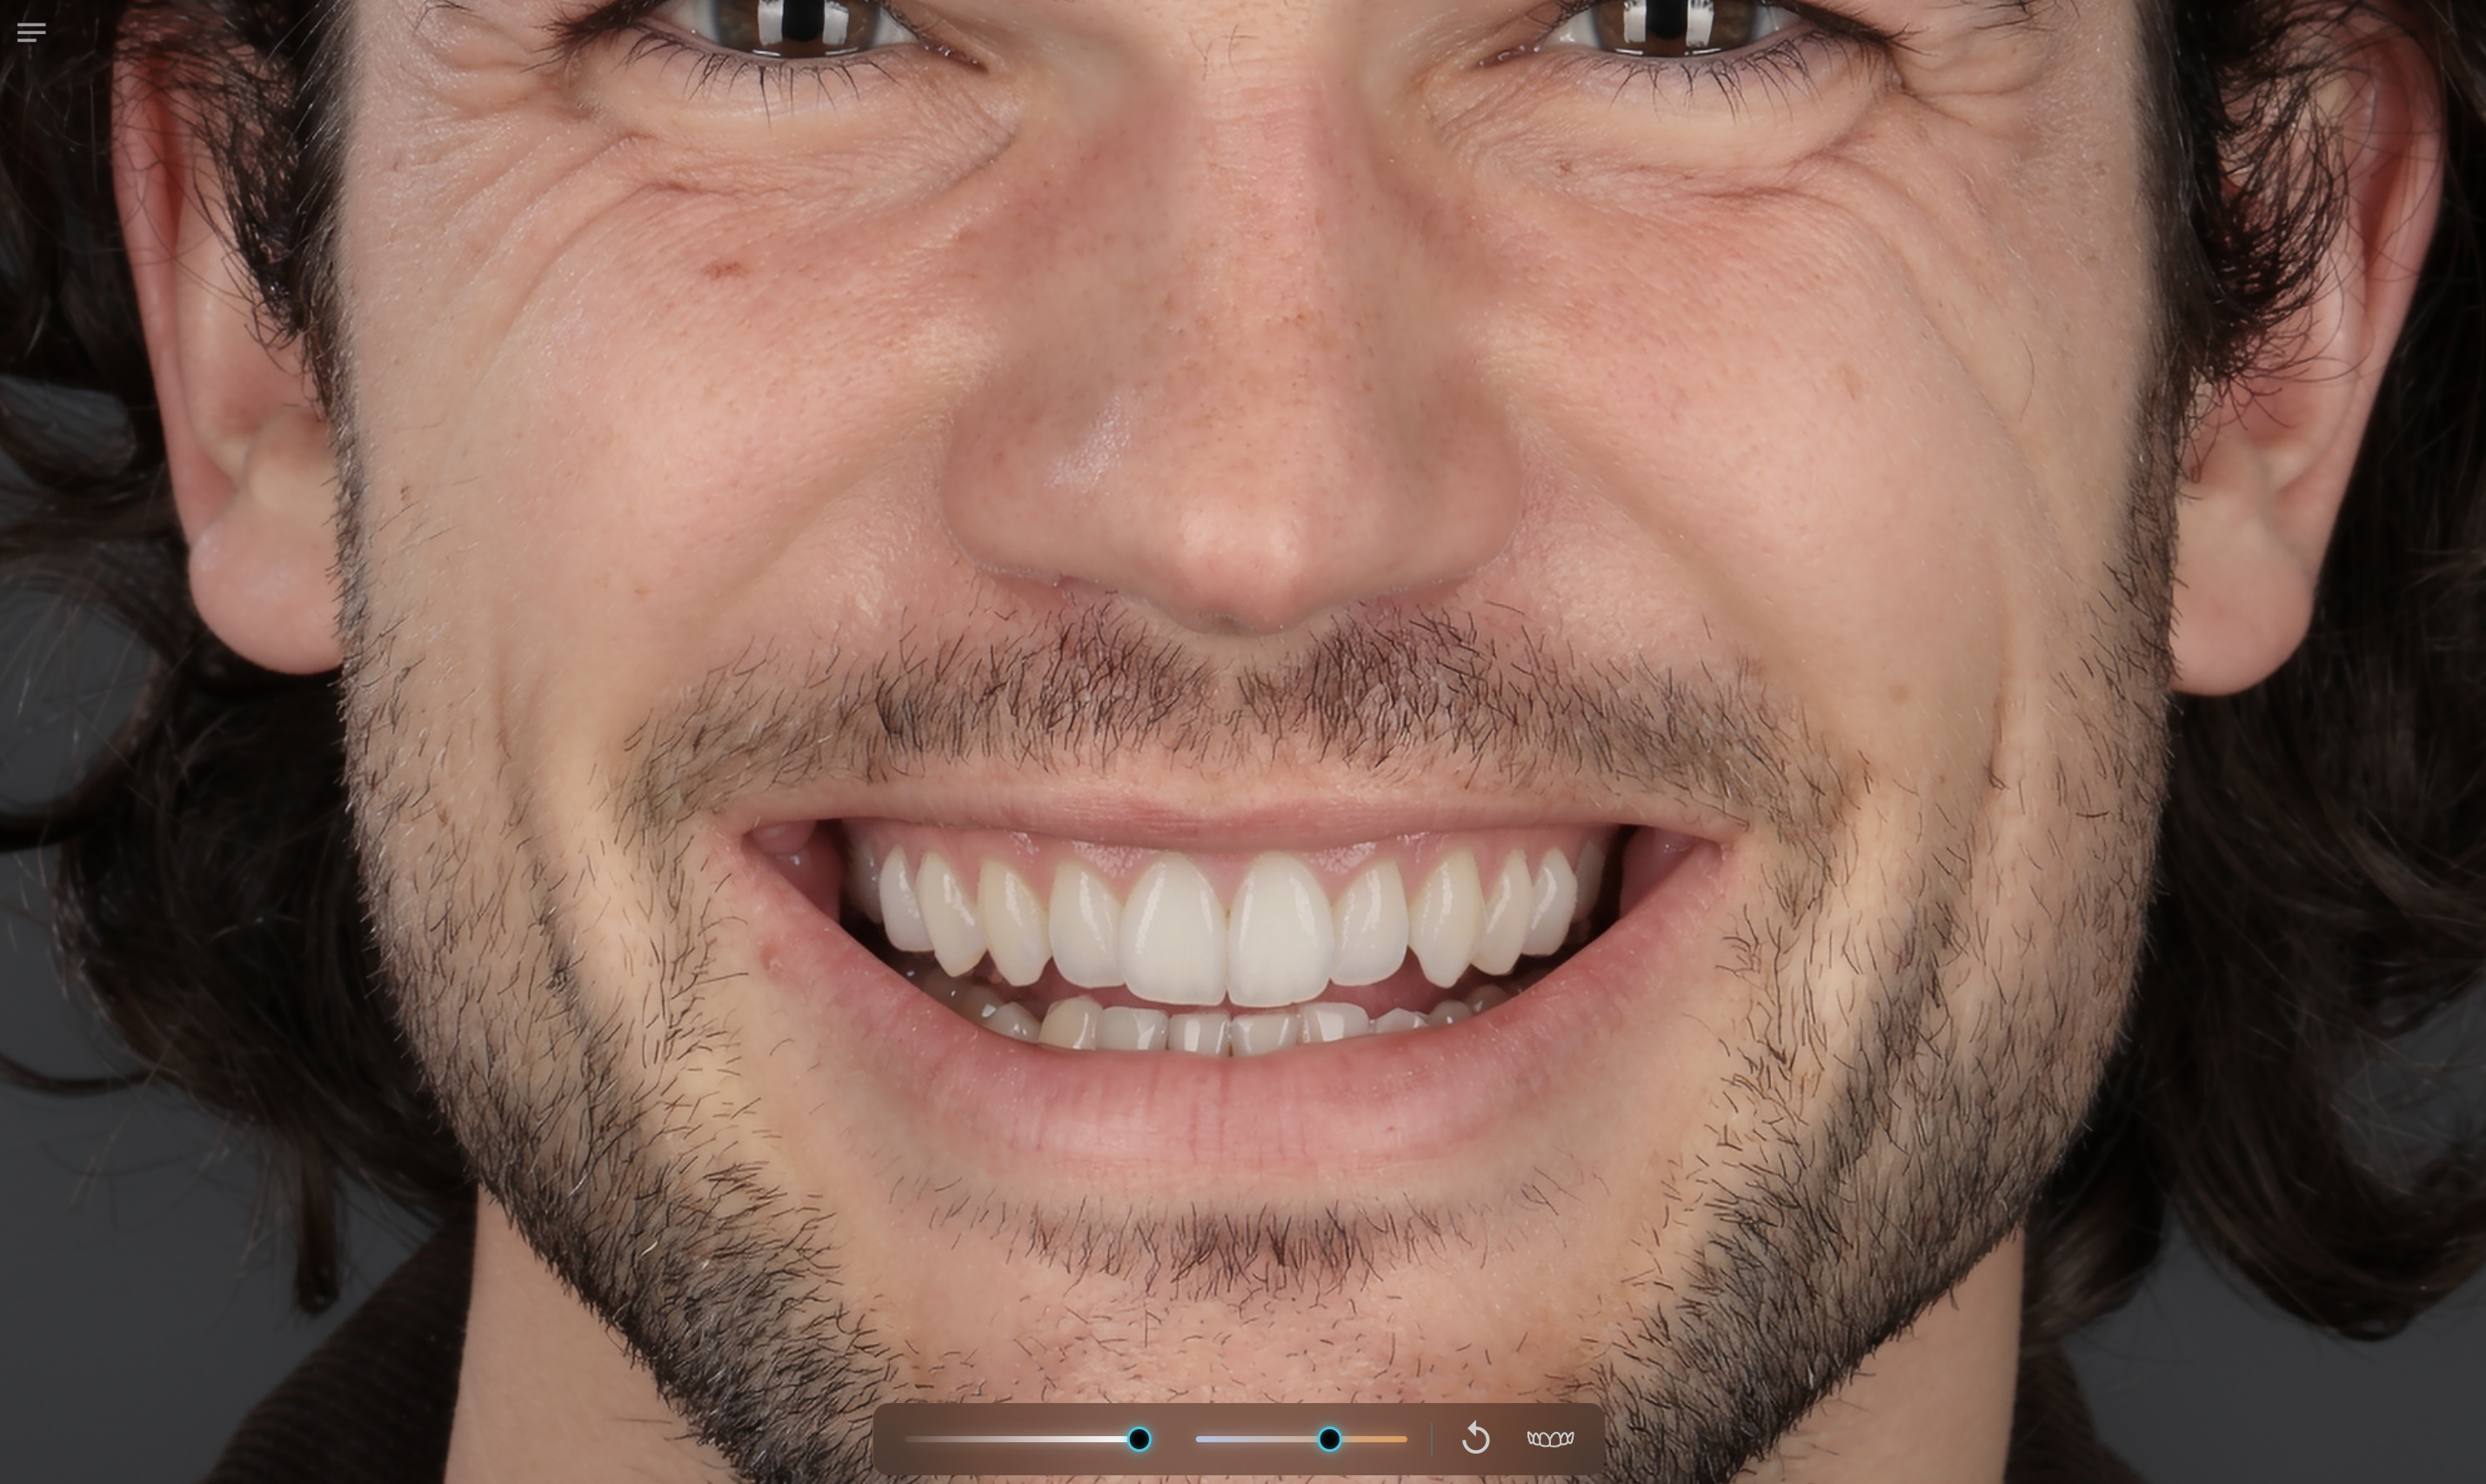
Smile Design Tutorial - Dr. Florin Cofar
Smile Design gives you control over individual teeth, from shape selection and proportions to position and gingival level. In this walkthrough, Dr. Florin Cofar explains how to use the interactive controls, switch between search and scaling, and refine your design with visual constraints and alignment guides.
Find the interactive controls
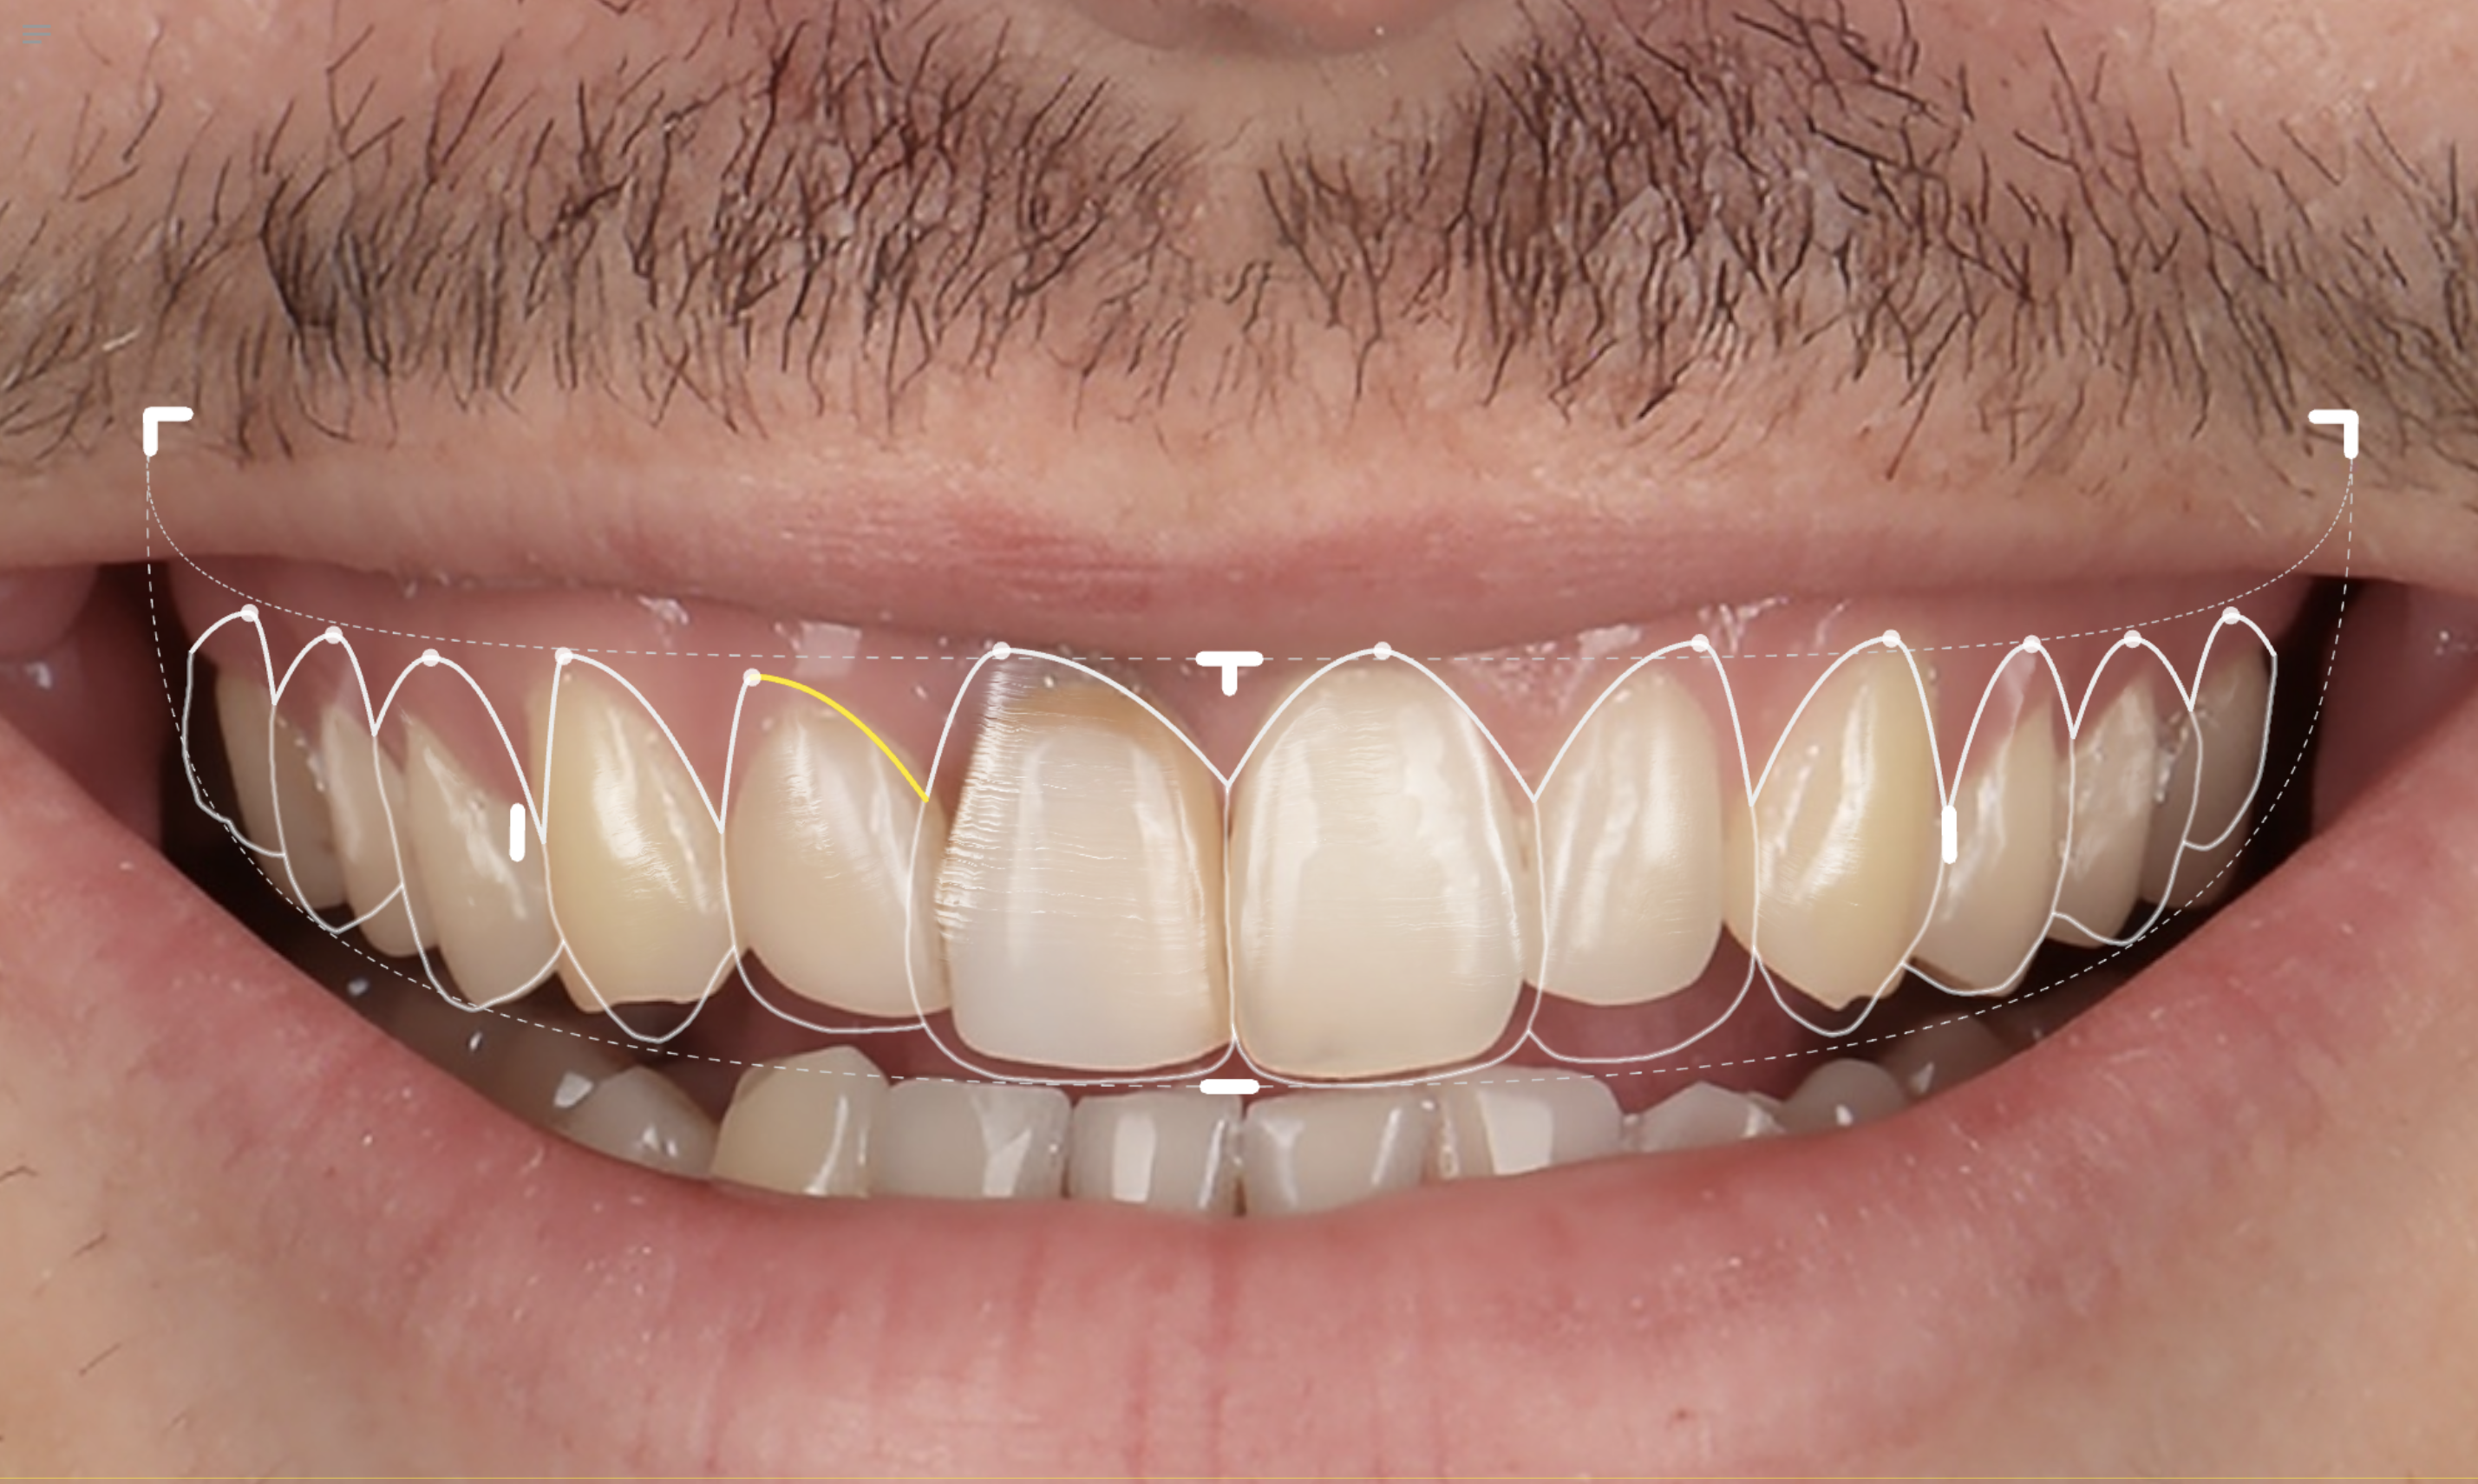
Move your cursor over a tooth to reveal the areas you can adjust. A yellow highlight indicates an interactive control.
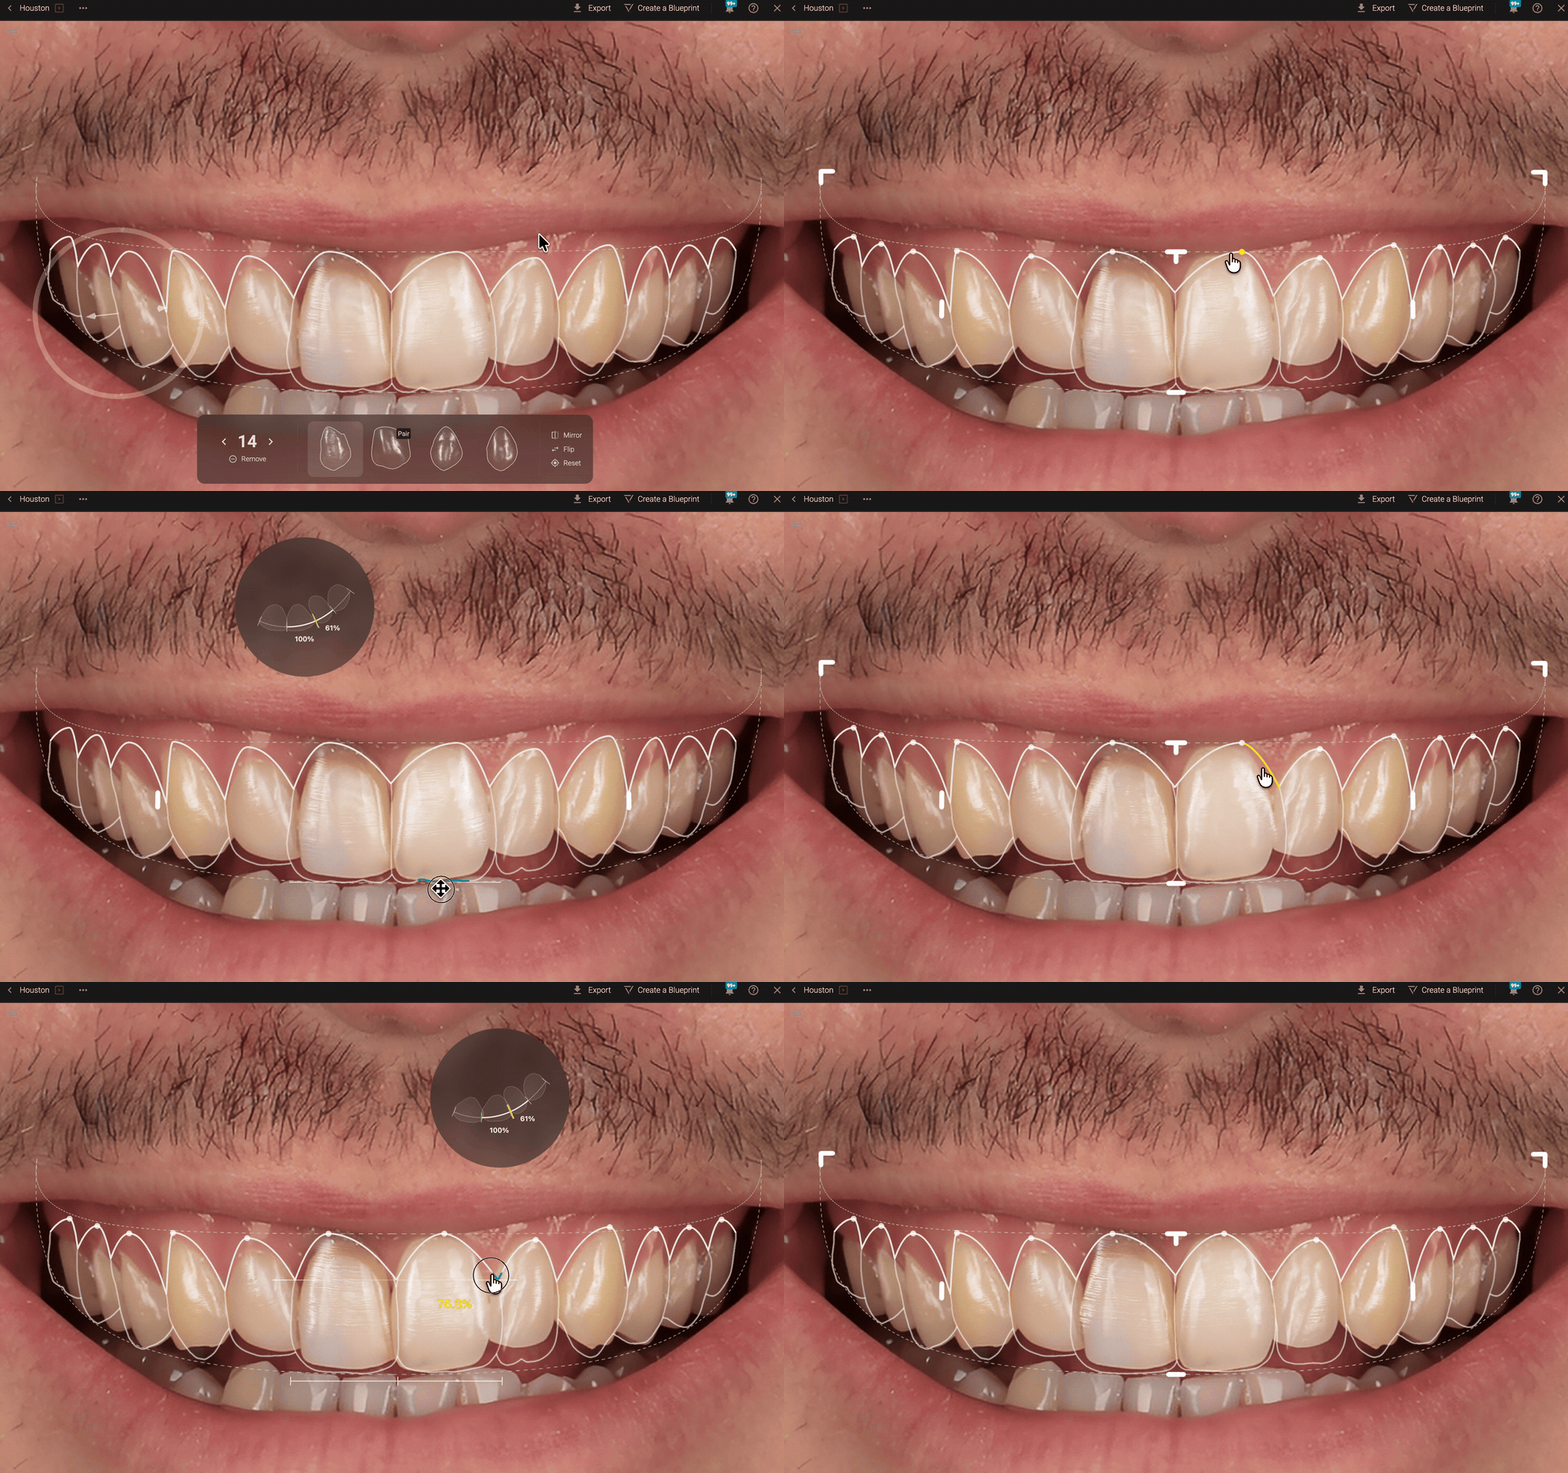
You can still move and rotate teeth as before. The main change is how you adjust their proportions, with different interactions depending on whether you hold Alt on Windows or Option on Mac.
Search for a shape by changing proportions
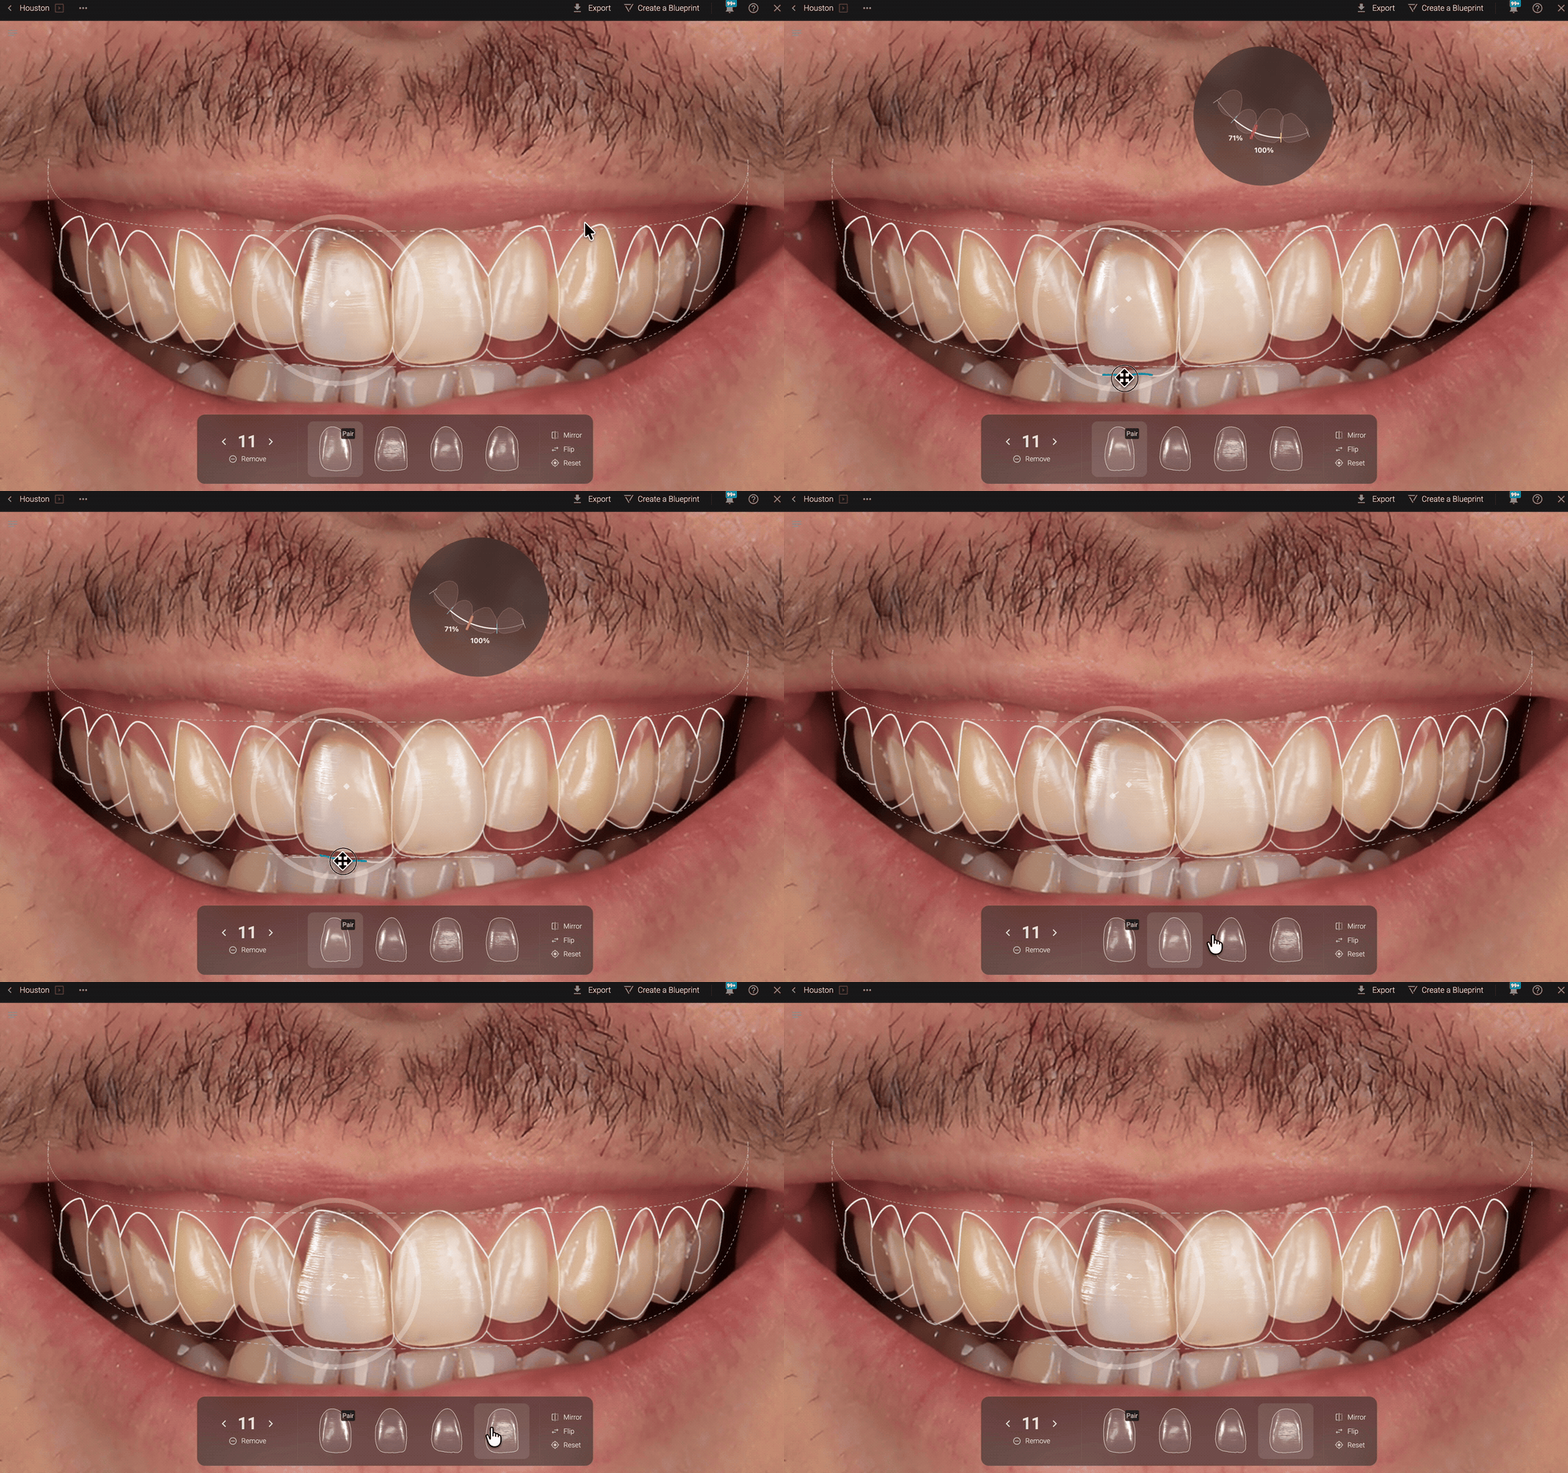
To adjust proportions through shape selection, drag the relevant control without holding a key. For example, drag the incisal control to change the tooth’s length and trigger a search for new shapes from the library that fit the adjusted proportions.
This lets you explore shapes as you refine the design.
Hold Alt or Option to scale the current shape
To scale the current shape, hold Alt or Option while dragging the relevant control. Use this interaction to adjust the tooth’s length or width.
The distinction is simple:
Search for new shapes from the library that fit different proportions: Drag the proportion control without holding a key
Scale the current shape: Hold Alt or Option while dragging the proportion control
The modifier key also changes the behavior of other controls, so its effect depends on the adjustment you are making.
Adjust the gingival level
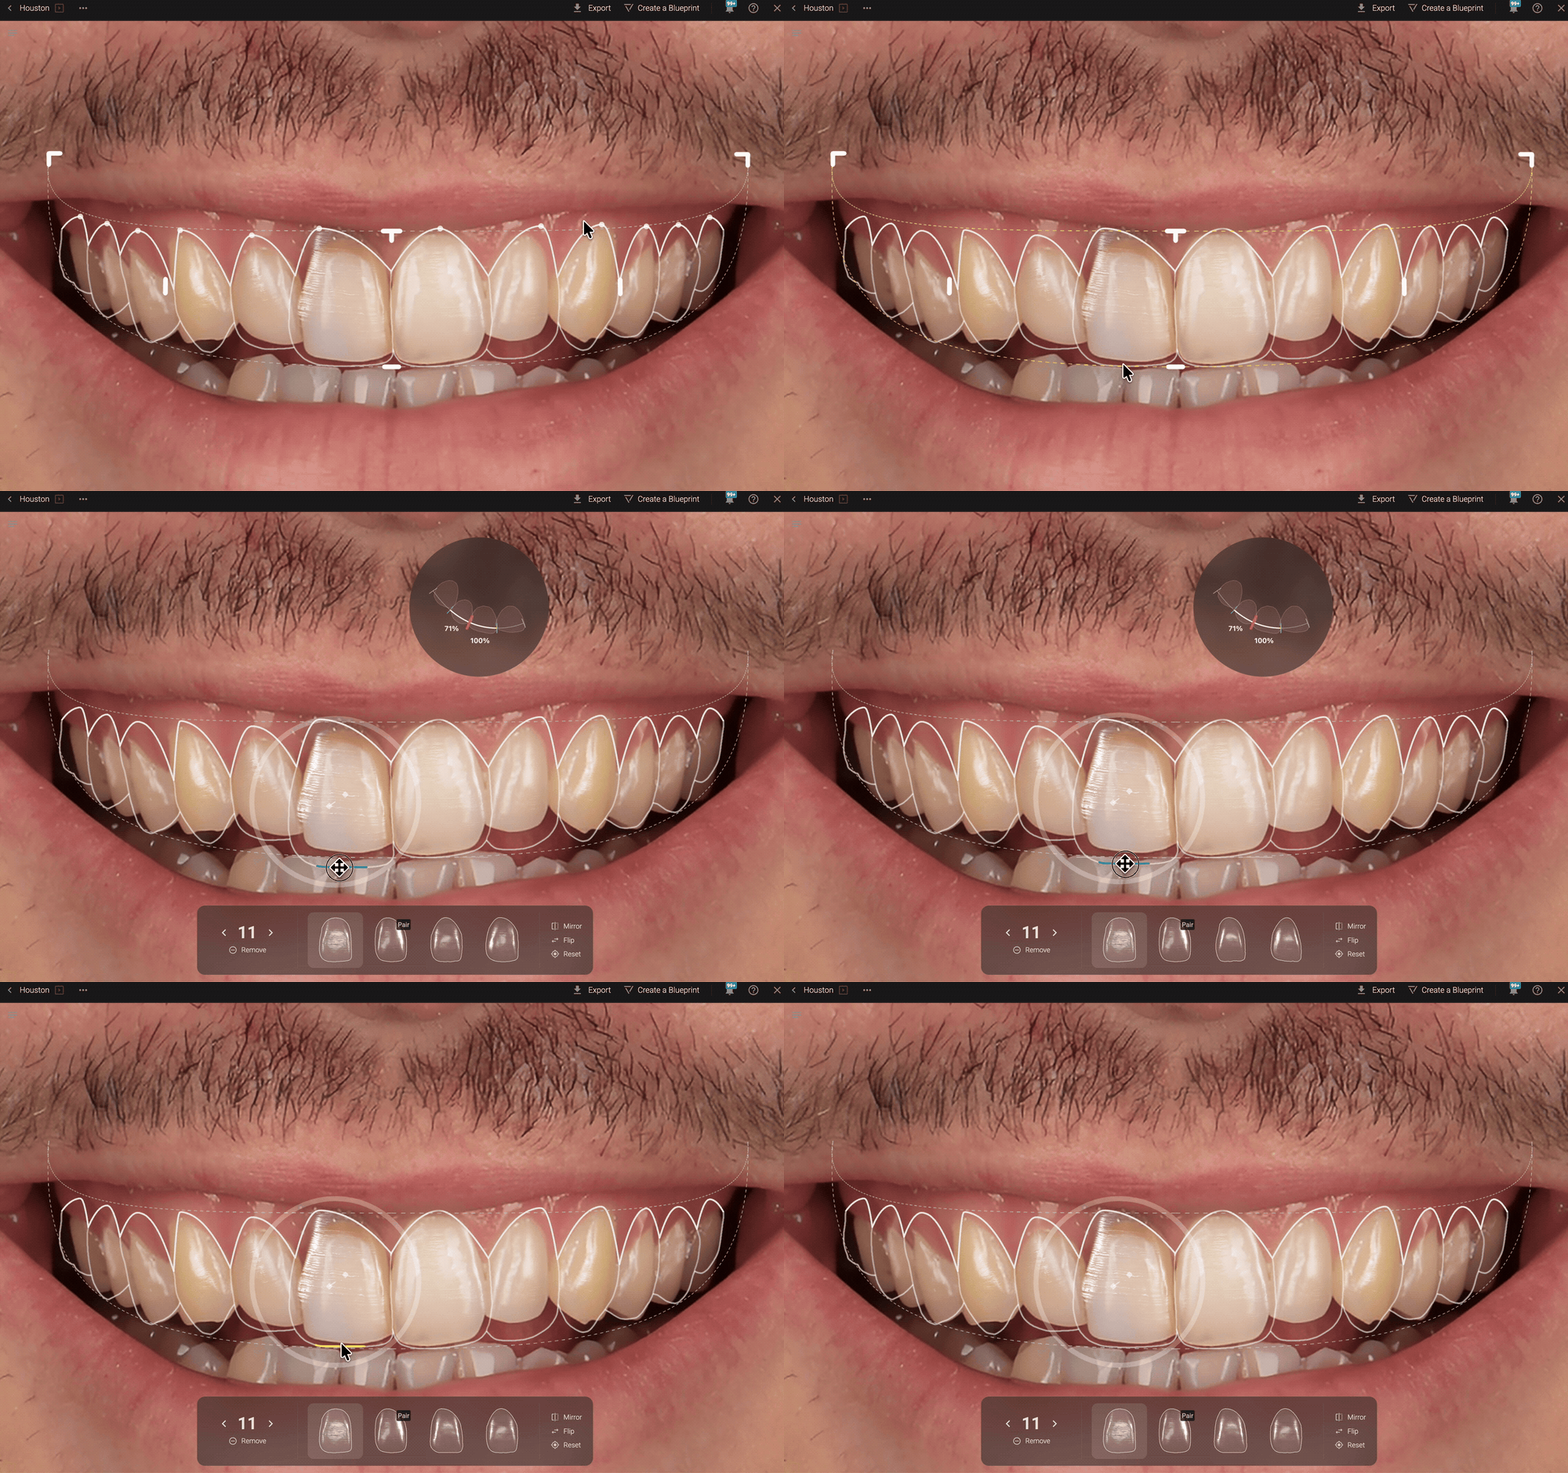
Hold Alt or Option while using the gingival control to adjust the gingival level in your design.
Changing this level goes beyond selecting a tooth shape.
Observe the constraints during adjustments
As you change tooth length or position, pay attention to how the surrounding design responds. Smile design is a simulator that constrains adjustments in relation to papillae and contacts, with the aim of keeping designs closer to physical reality and helping technicians receive more executable proposals.
For tooth movement, holding Alt or Option lets you override the demonstrated physical constraint. This differs from the scaling interaction: the same key changes the behavior of the control you are using.
Use the alignment guides
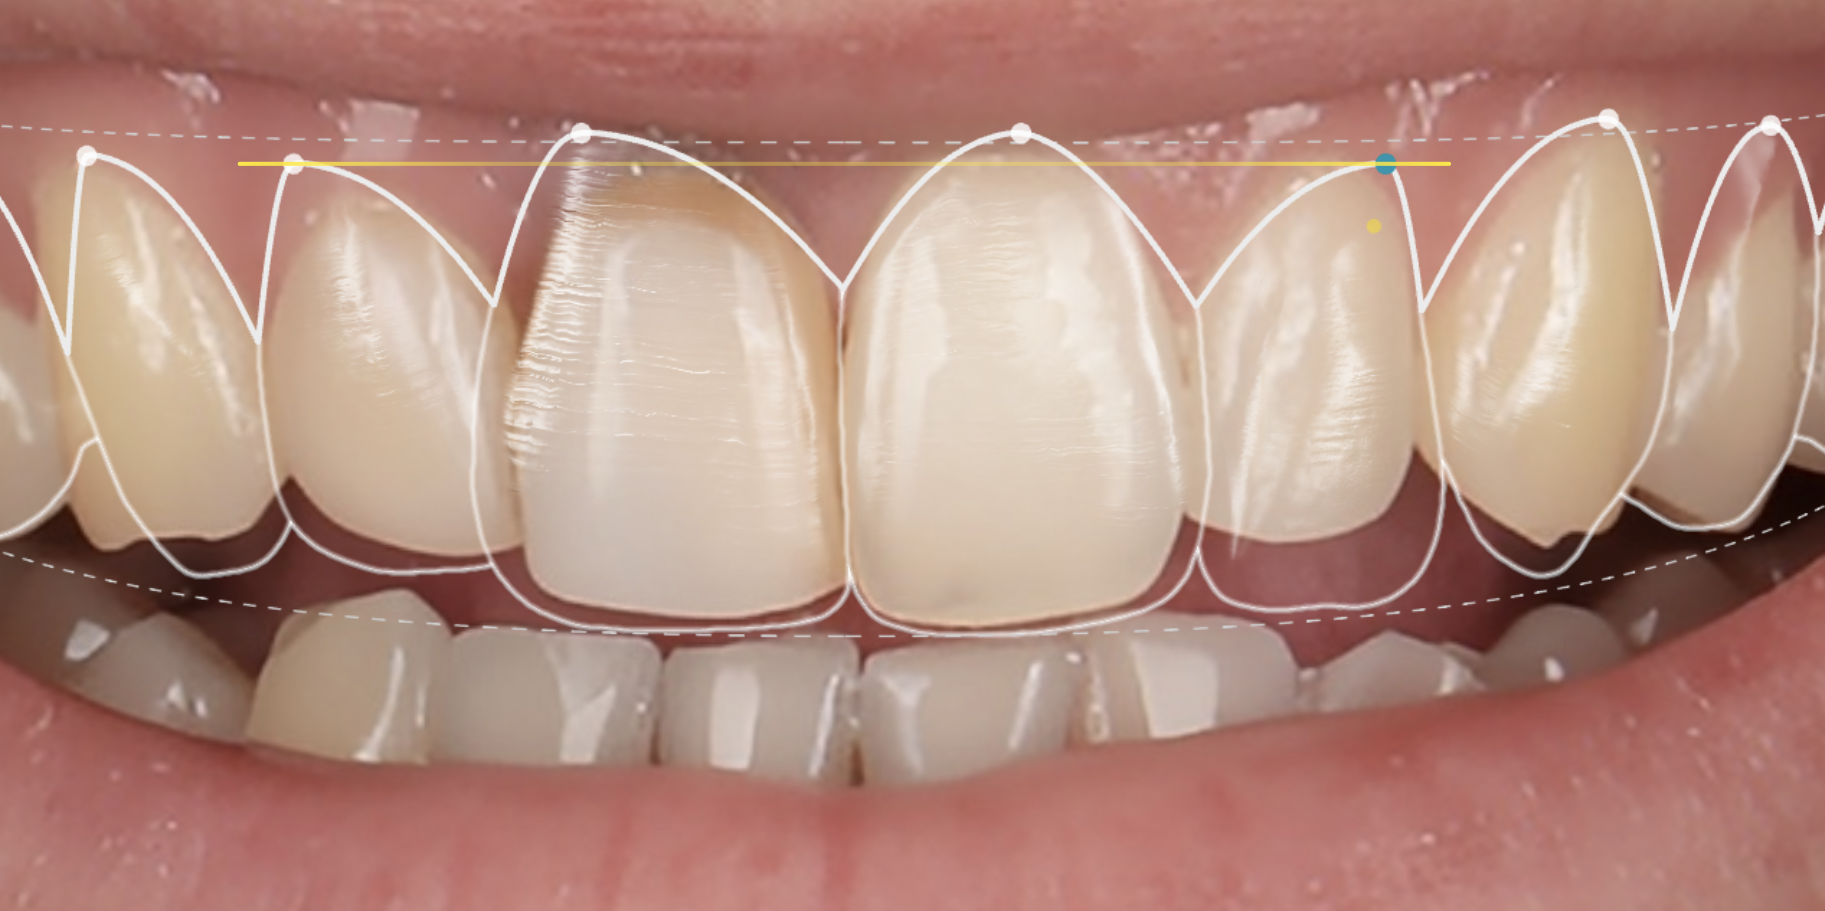
Visual guides help you compare tooth positions and levels as you work. For example, when you adjust the gingival level to match the contralateral tooth, a guide line lights up to indicate the alignment.
Use this feedback to check the relationship between corresponding teeth while refining individual details.
Render your design
Once you have finished adjusting the shapes, proportions and positions, use the render action to generate the visual result from the design shown on screen.
Before rendering, review the overall arrangement alongside the individual changes, including gingival levels and the relationships between neighboring teeth.