Align 3D files
Quick. Easy. Directly in your browser.
The Review feature allows you to align and stack 3D files.
Step 1. Create a Review Scene
- Open Projects → Review
- Add your 3D files (e.g. scans + CBCT)

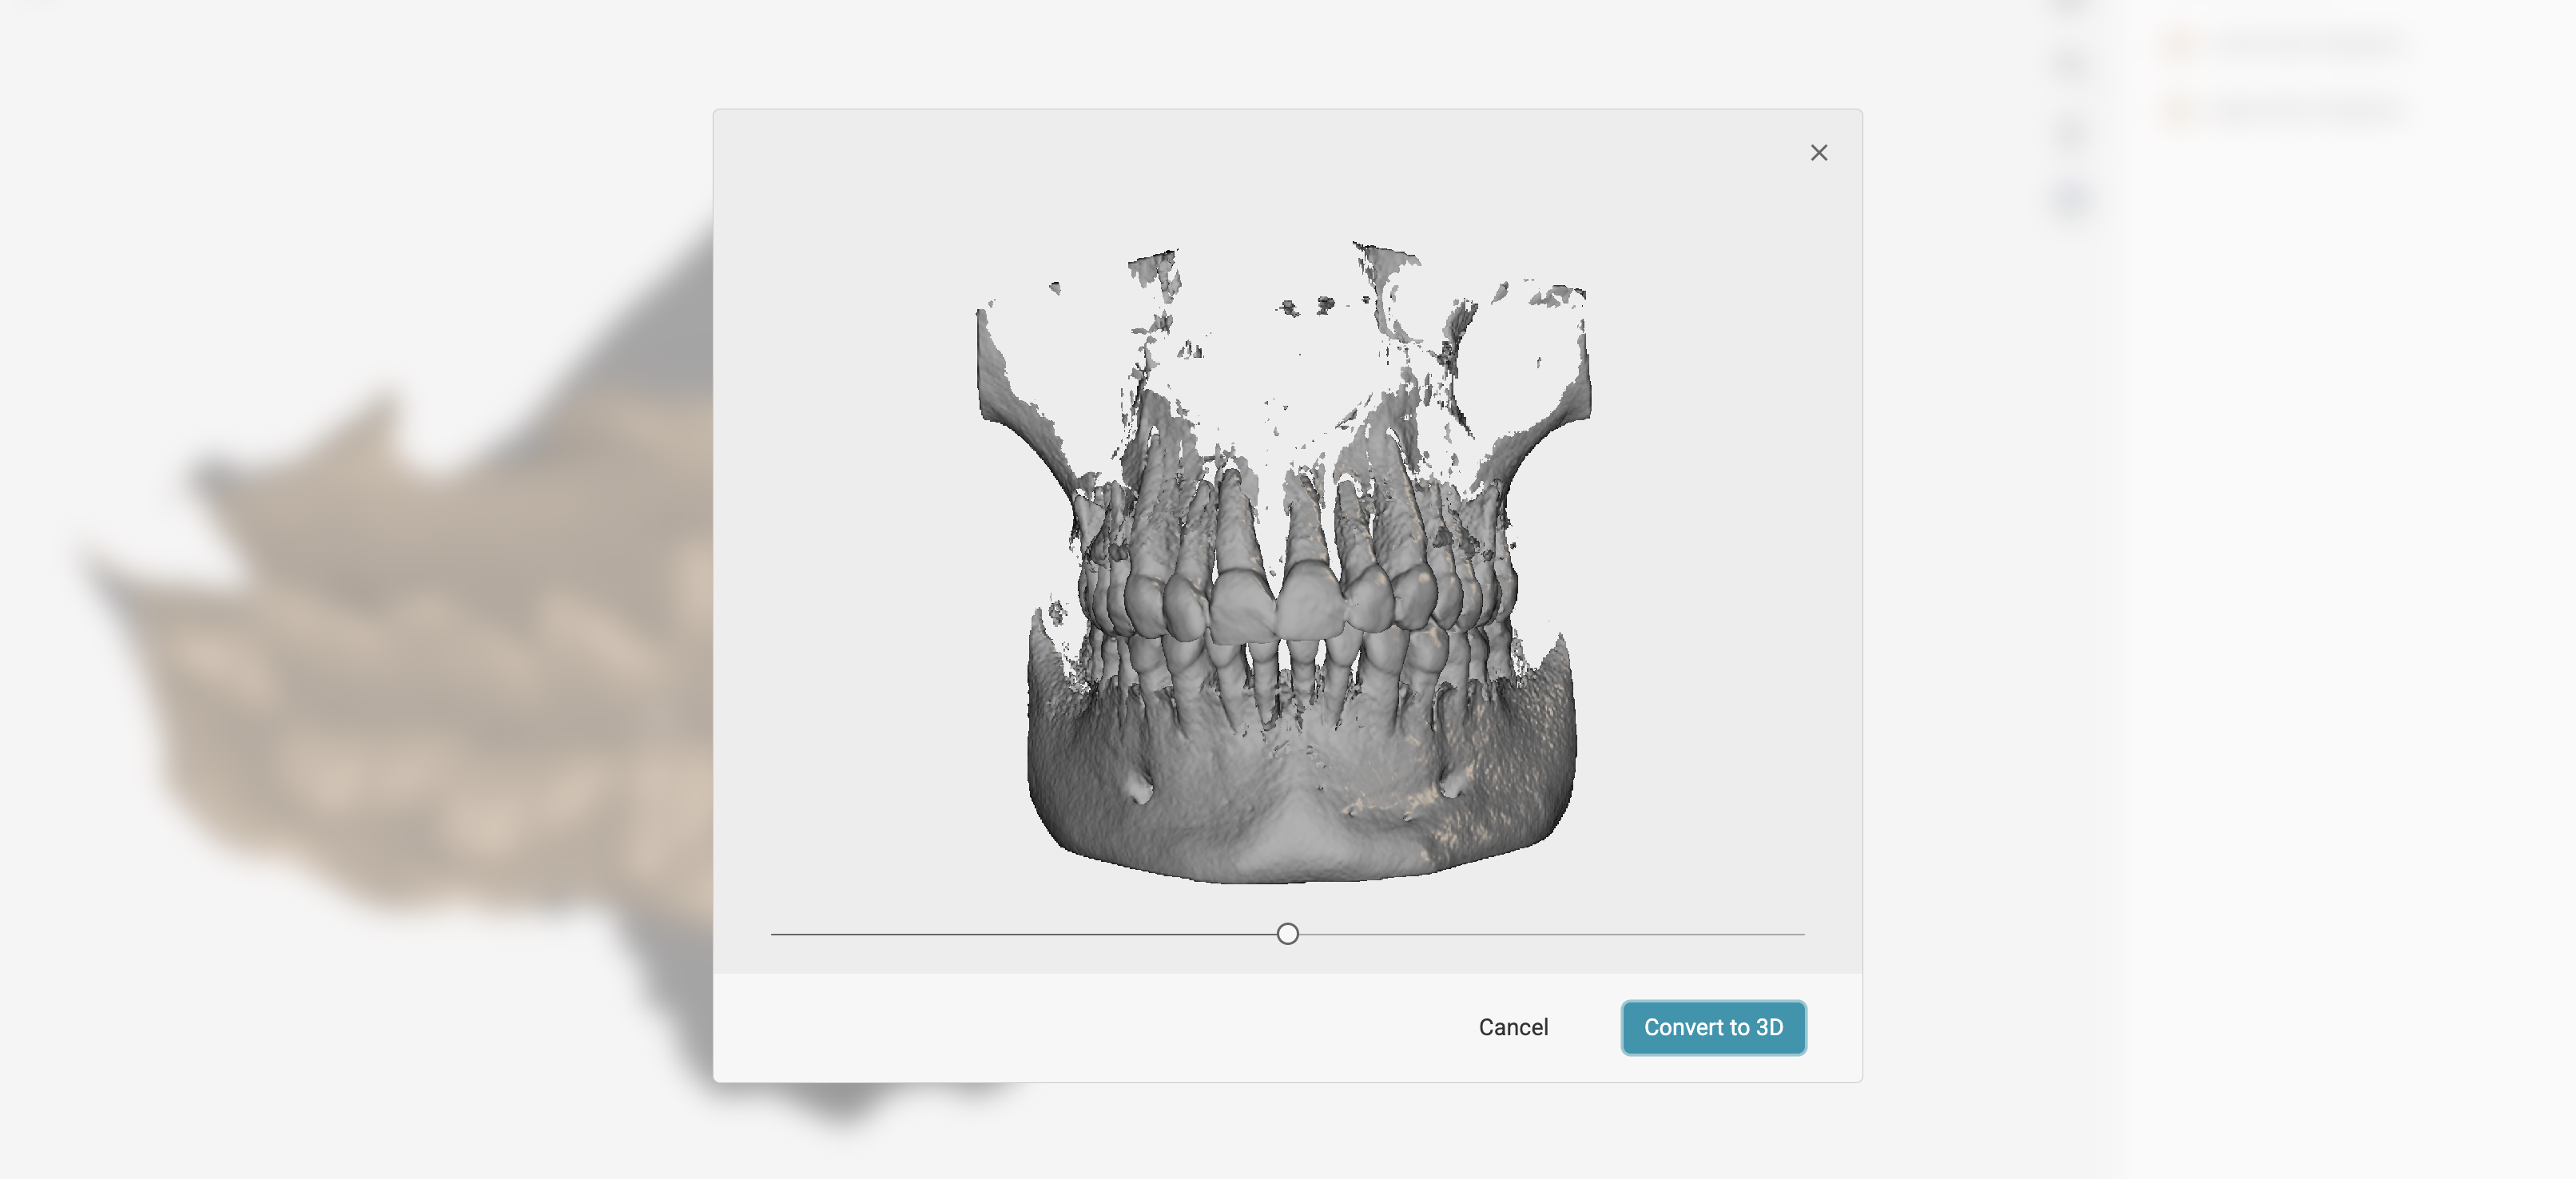
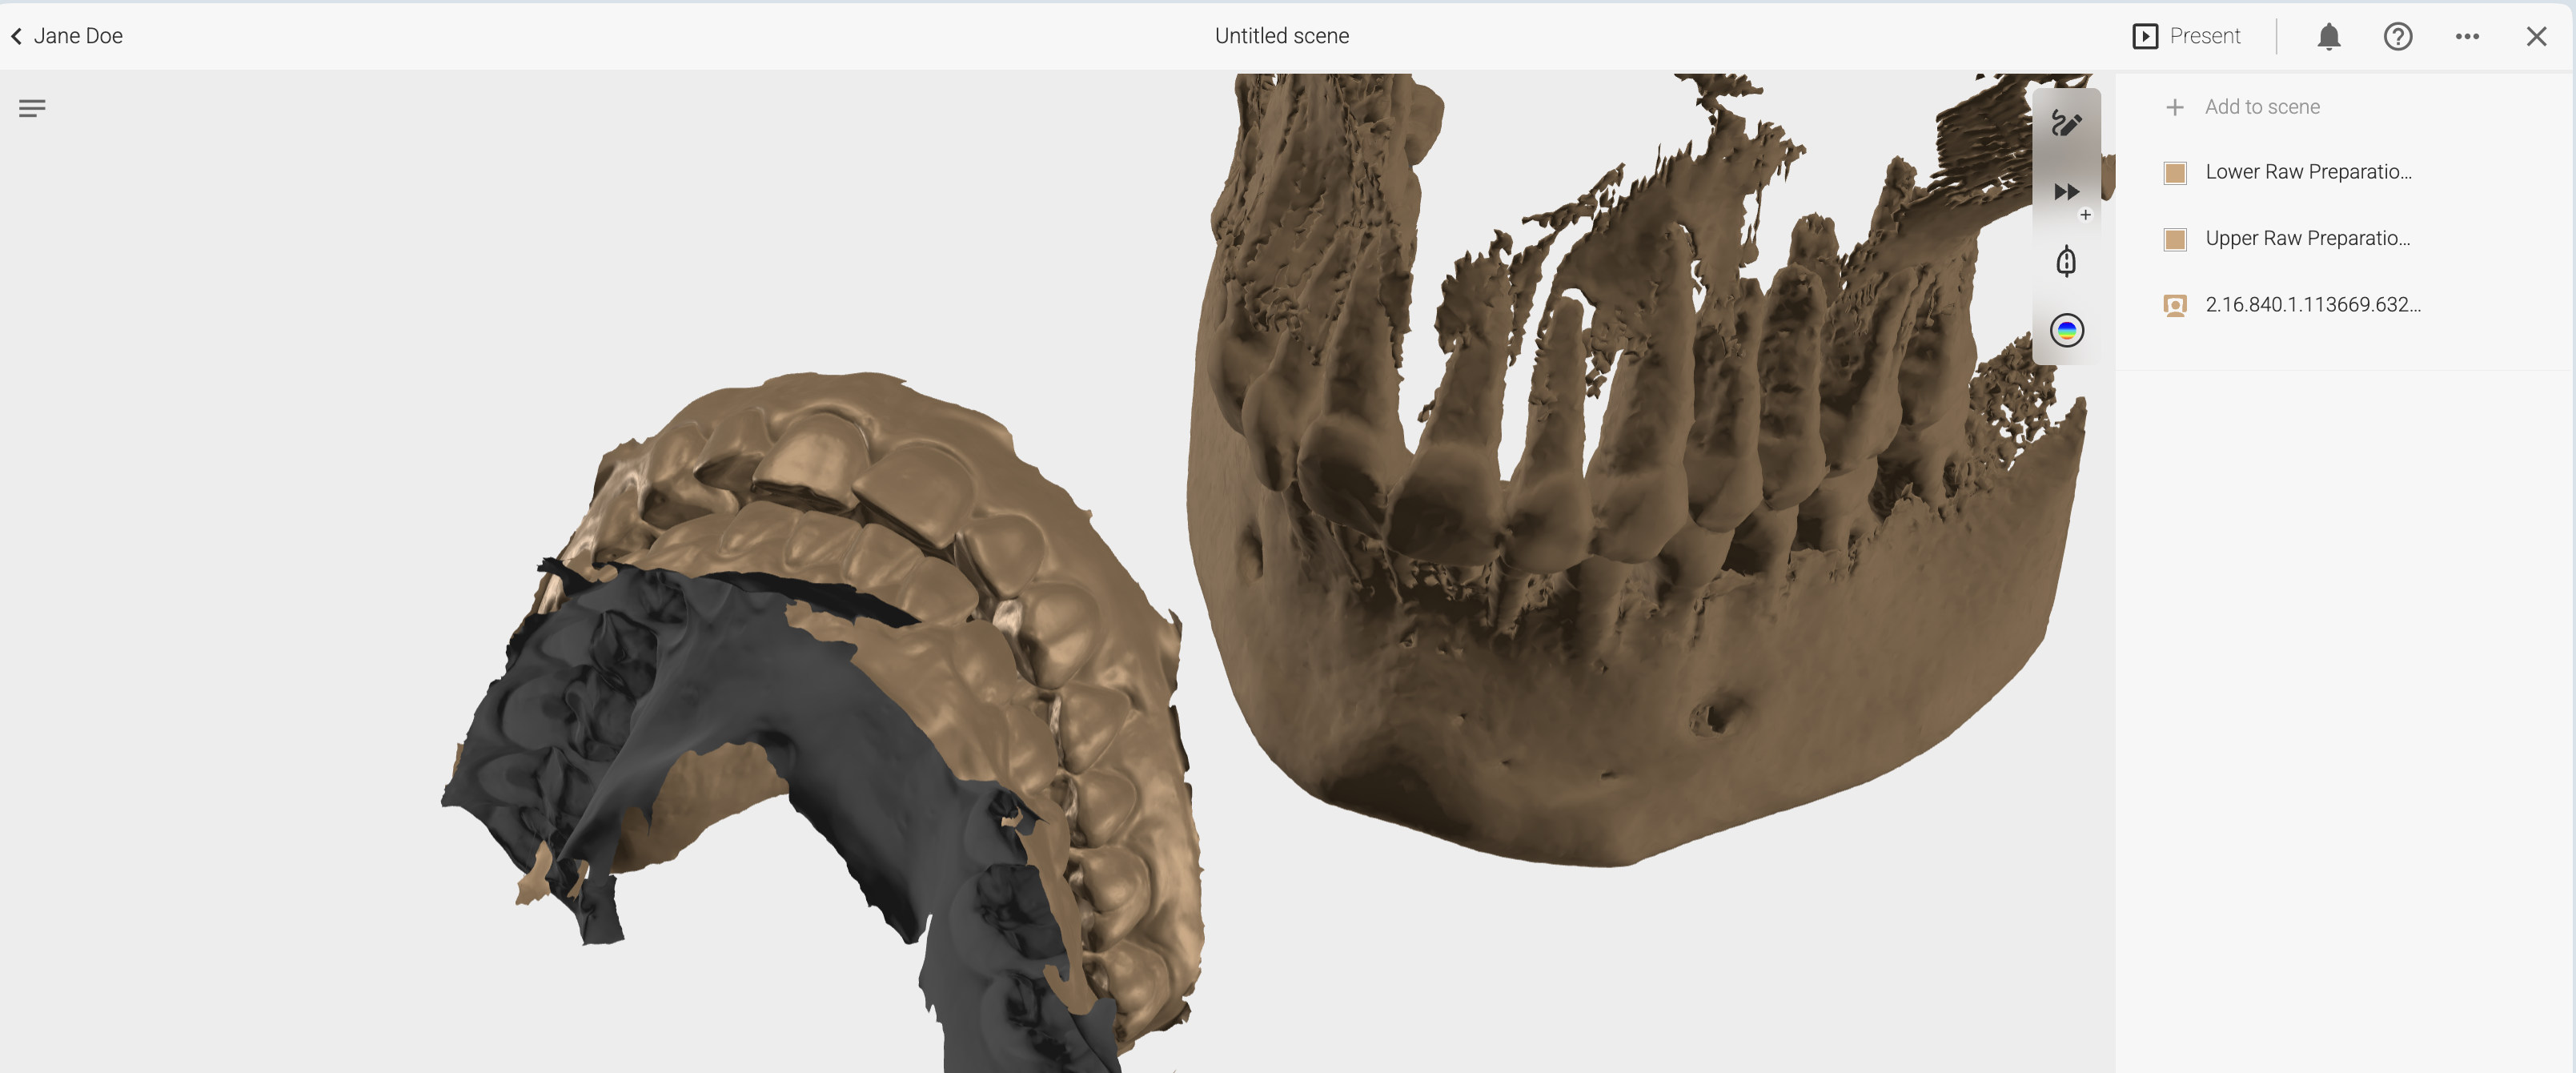
📌 Review will display each file in its original coordinates. If they were captured in different positions, they will appear misaligned.
Step 2. Select Files to Align
- Select the upper scan and the CBCT file
- Click Align

👉 The final position will be dictated by the file on the left.
- To align the scan to the CBCT’s position → place CBCT on the left
- To align the CBCT to the scan’s position → place scan on the left
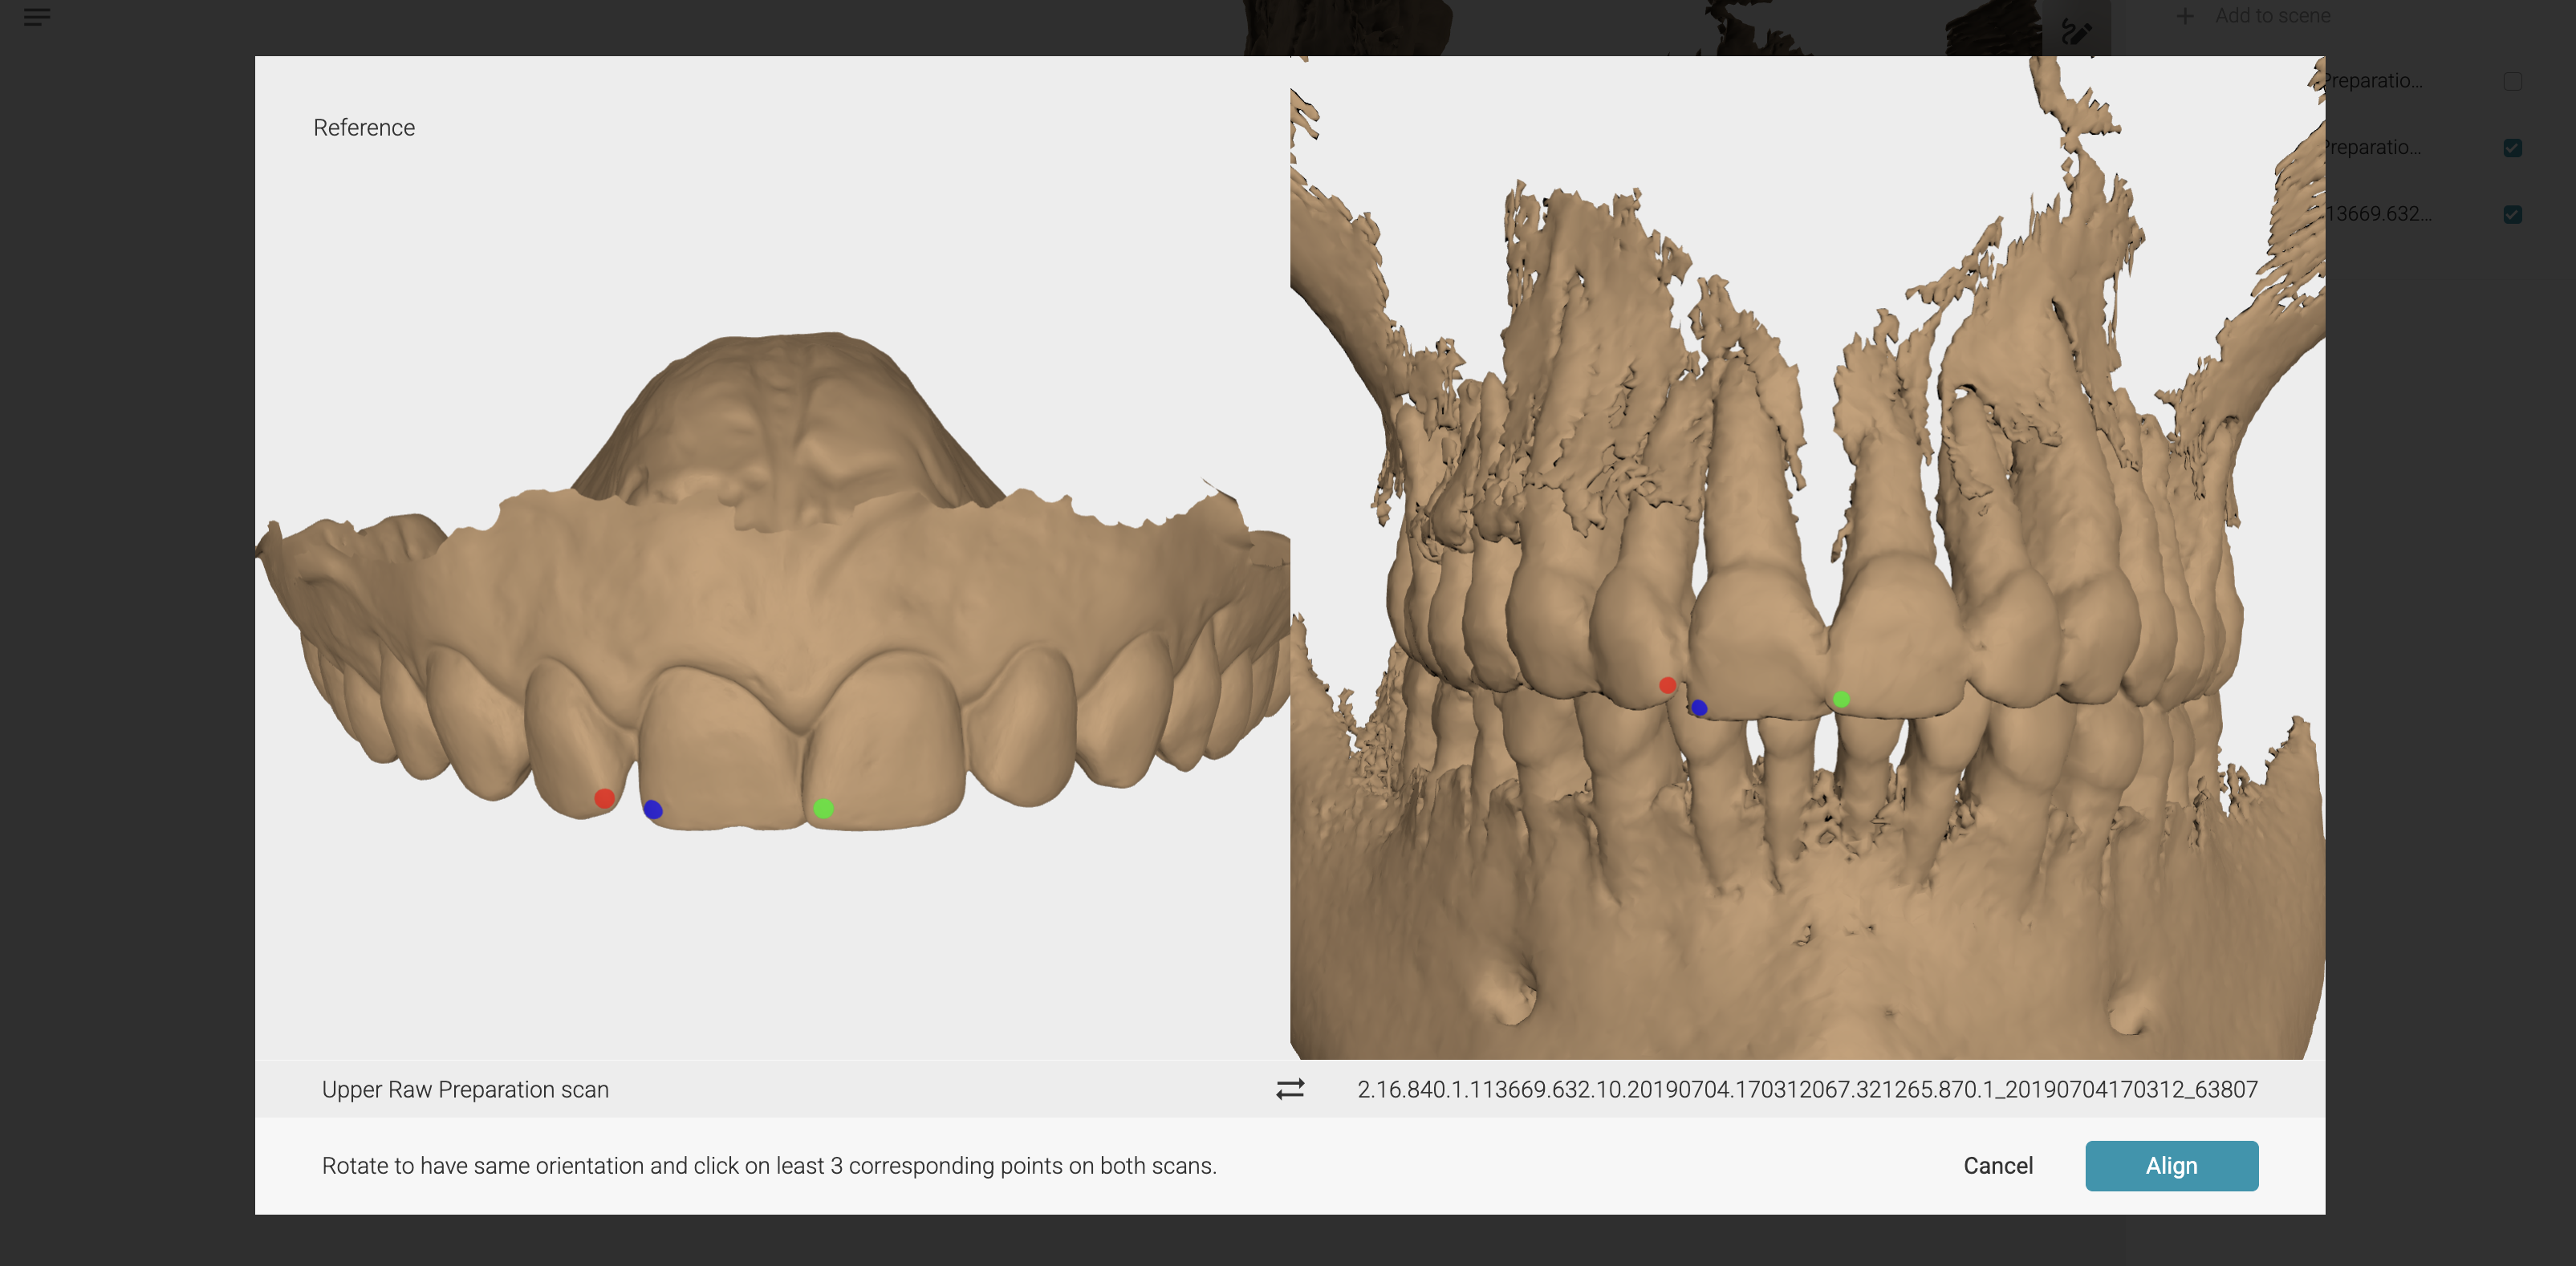
Step 3. Place Corresponding Points
- Mark at least 3 corresponding points on both files
- Click Align
🔎 Tip: If the alignment doesn’t look correct, go back and adjust the points.
- Once alignment is correct, click Done
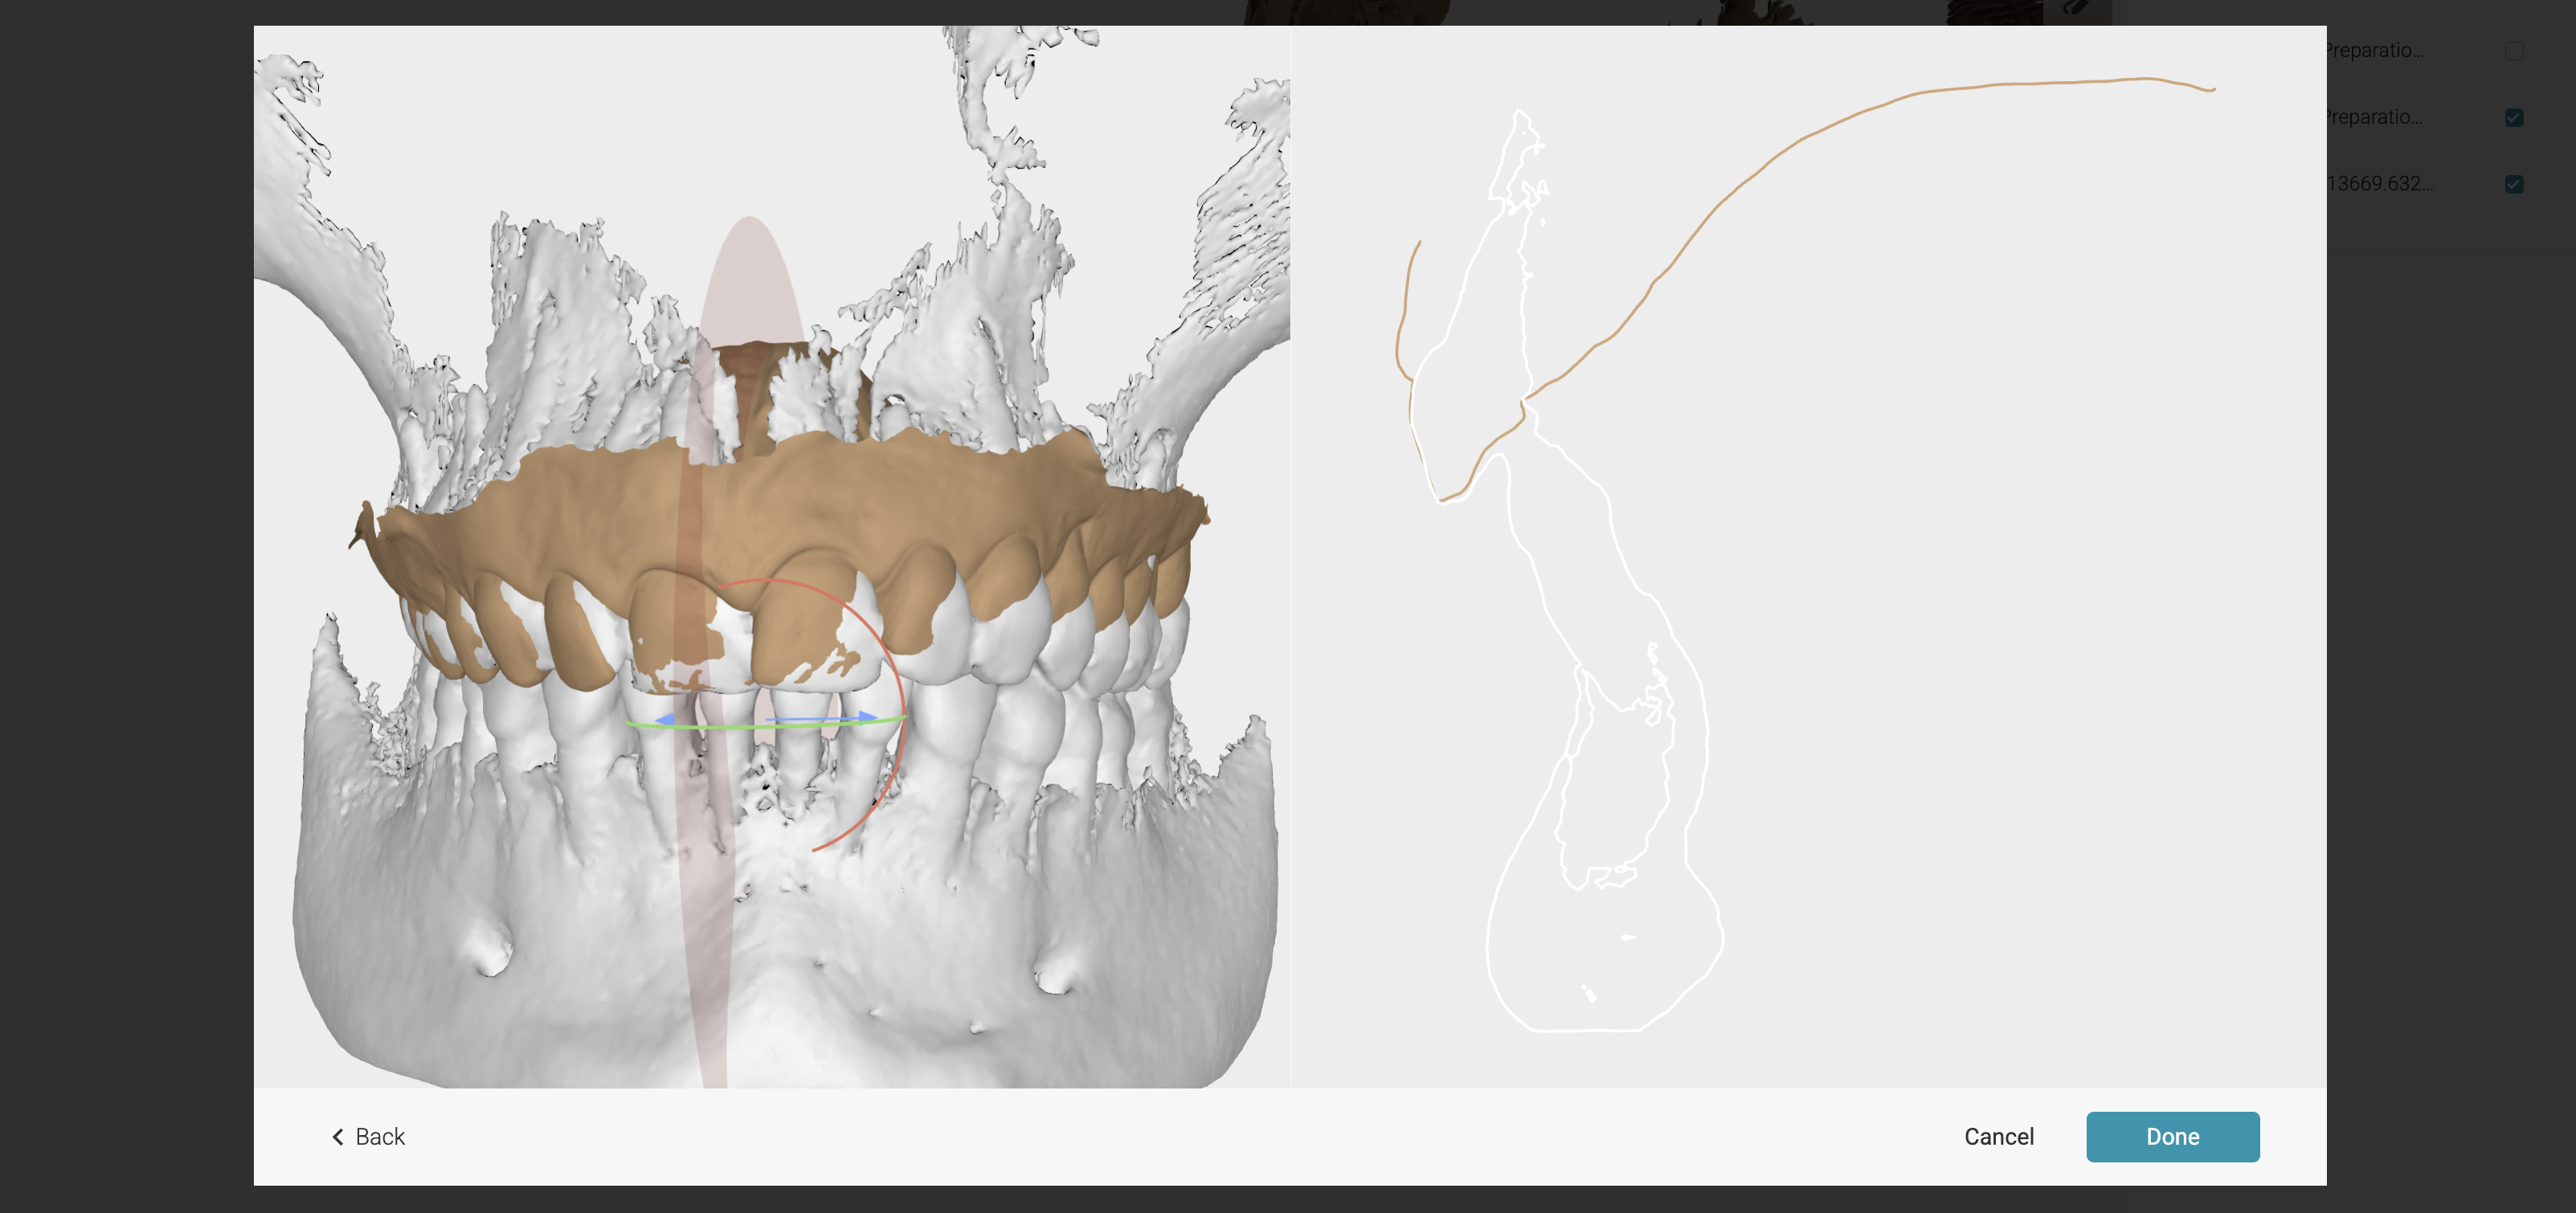
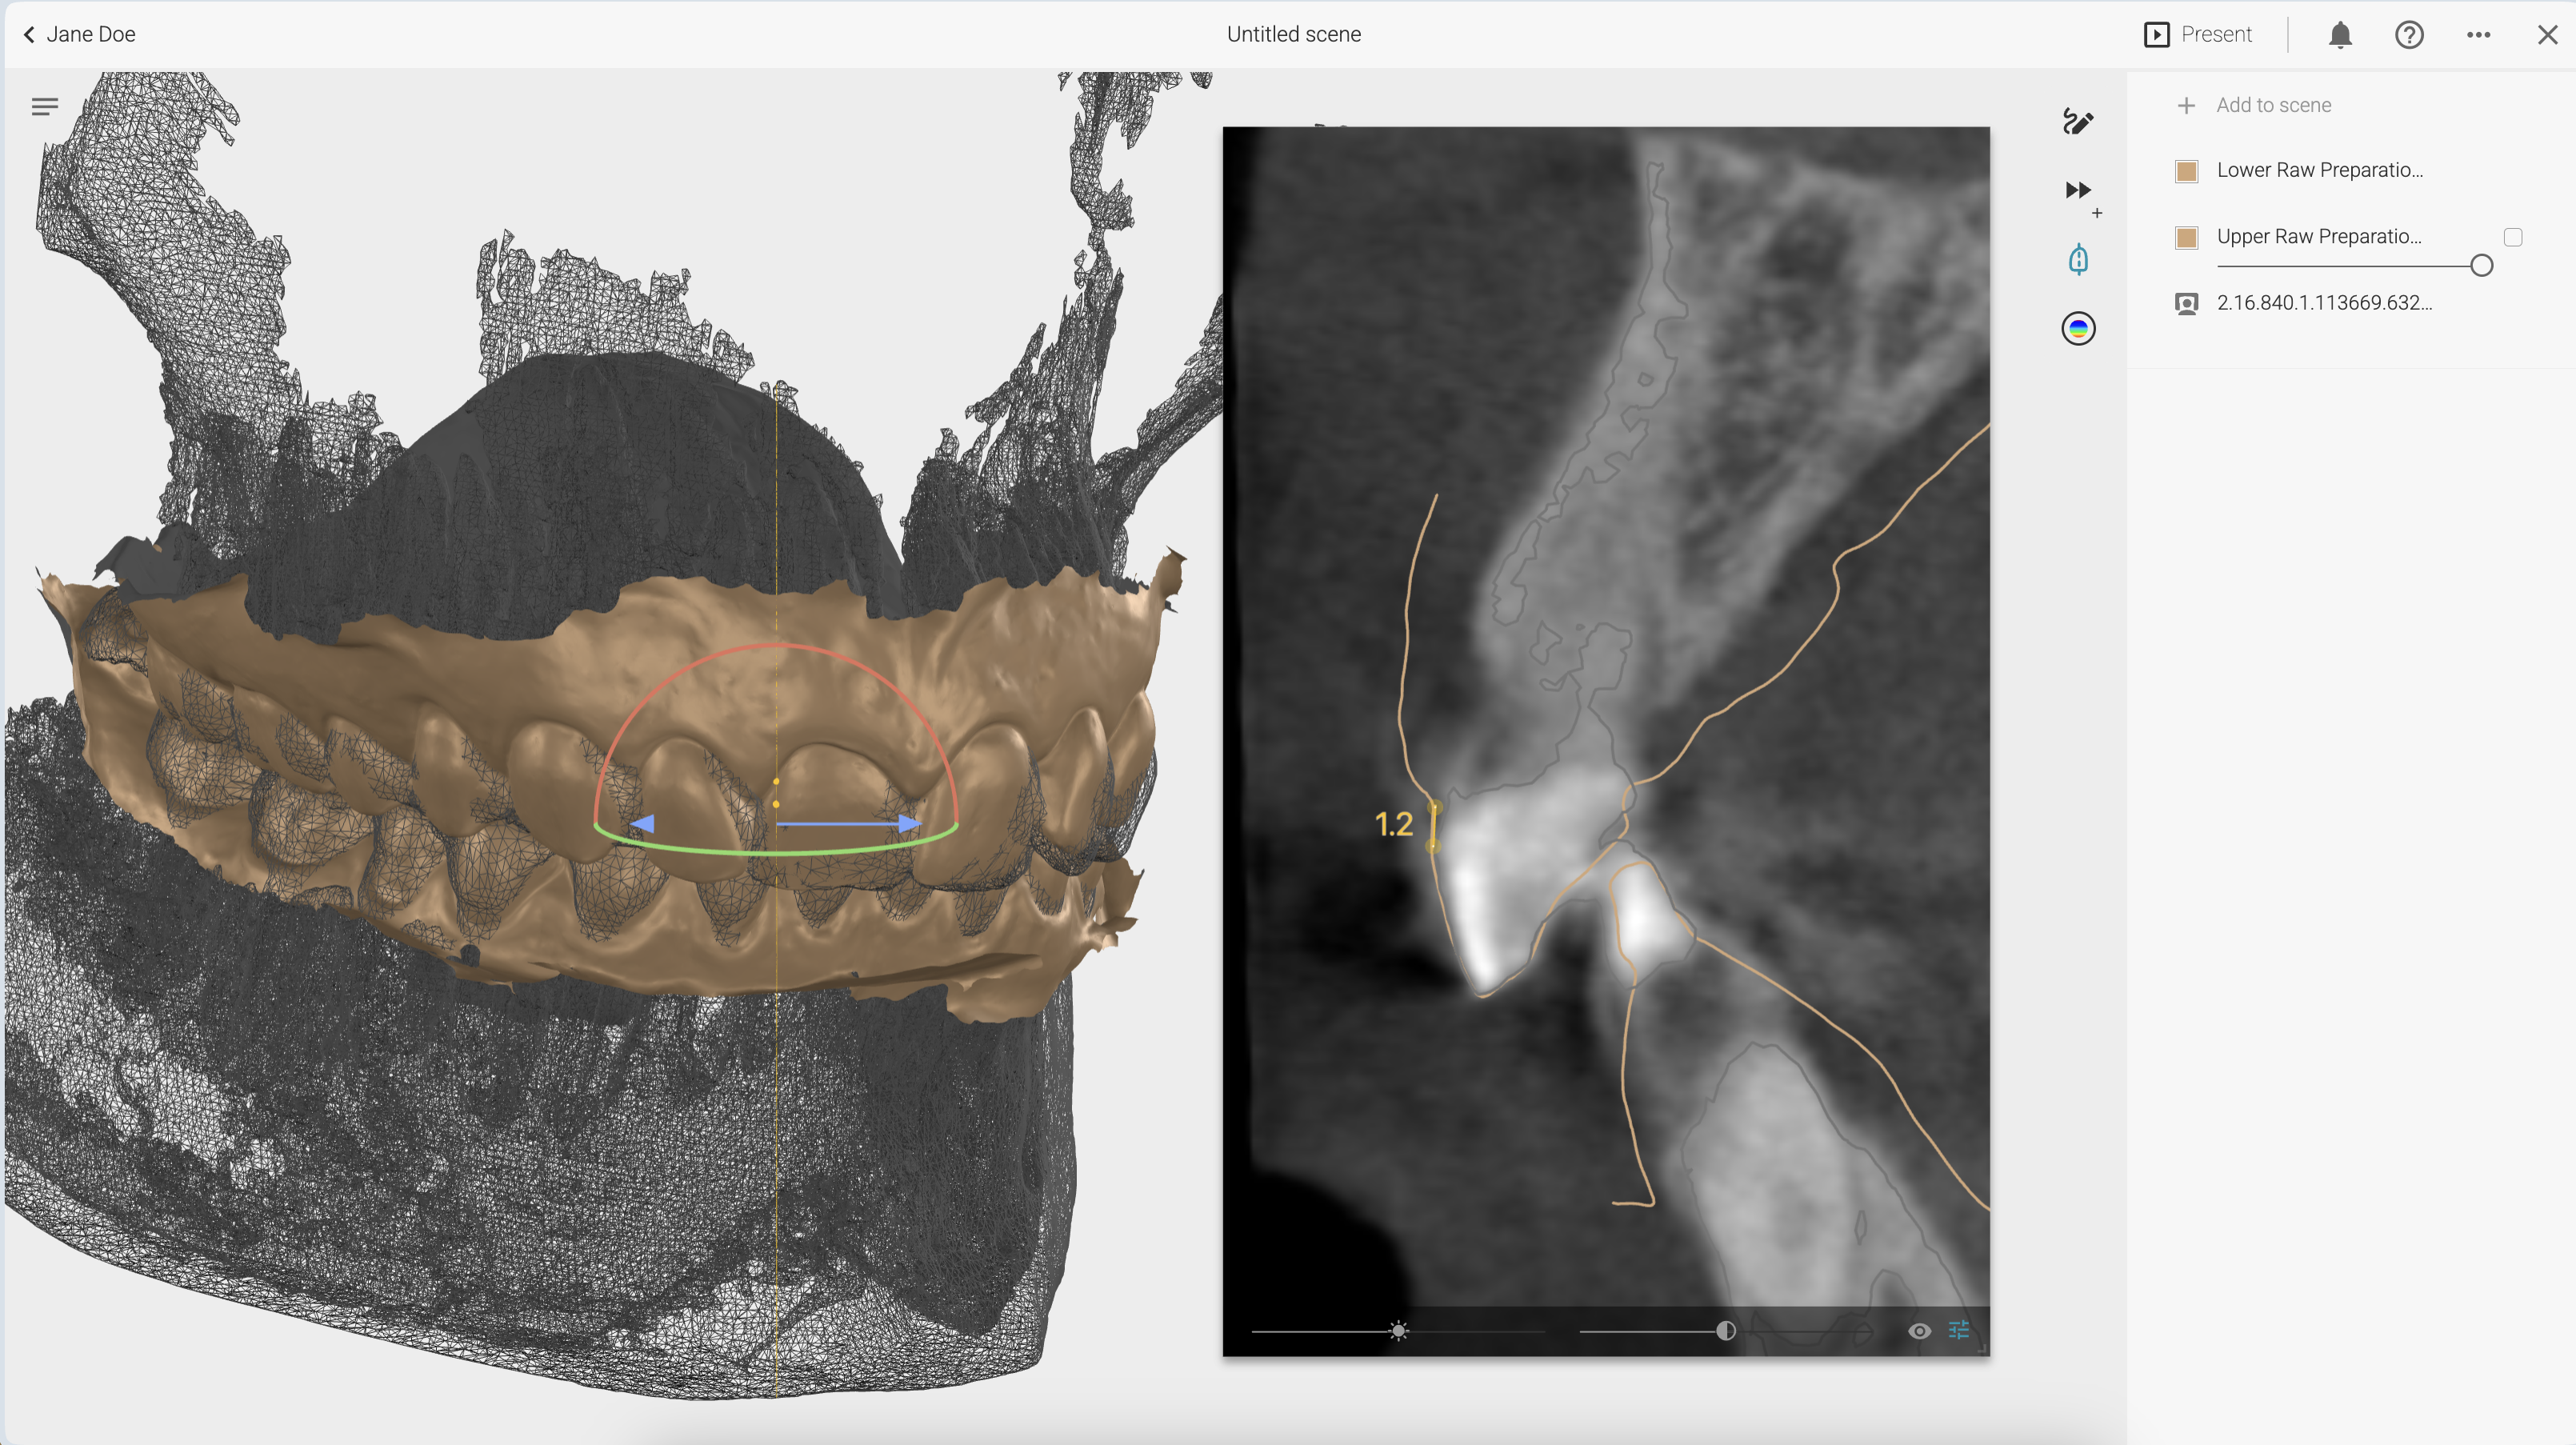
Step 4. Explore
✅ Your 3D files are now aligned, allowing you to review in full context.
- Double-click anywhere to create a cross-section
- To measure, double-click directly on the cross-section