Guide to Smile Design
Smilecloud offers a fast, assisted workflow that enhances smile design using facial reference points. In one click, generate natural-looking simulations to support both patient communication and team discussions.
✅ Design in One Click
Our new AI automation skips the setup and takes you straight to what you love — Design.
- Click Projects from your dashboard
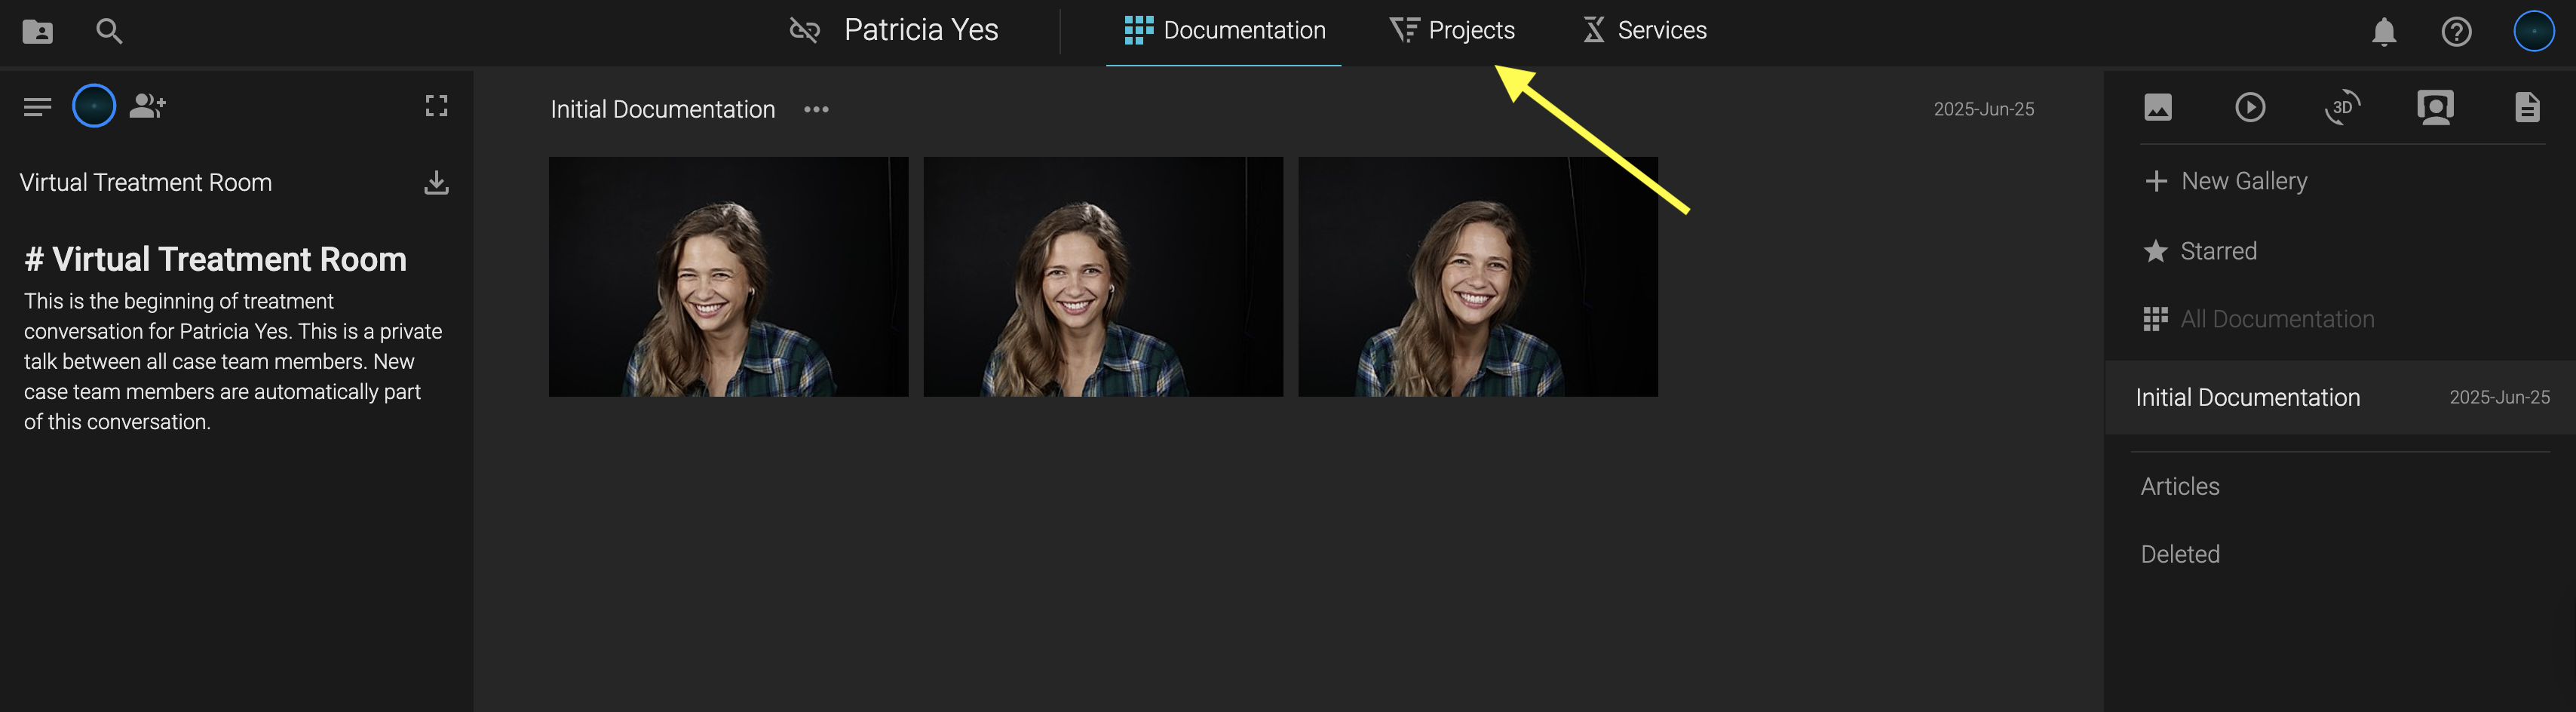
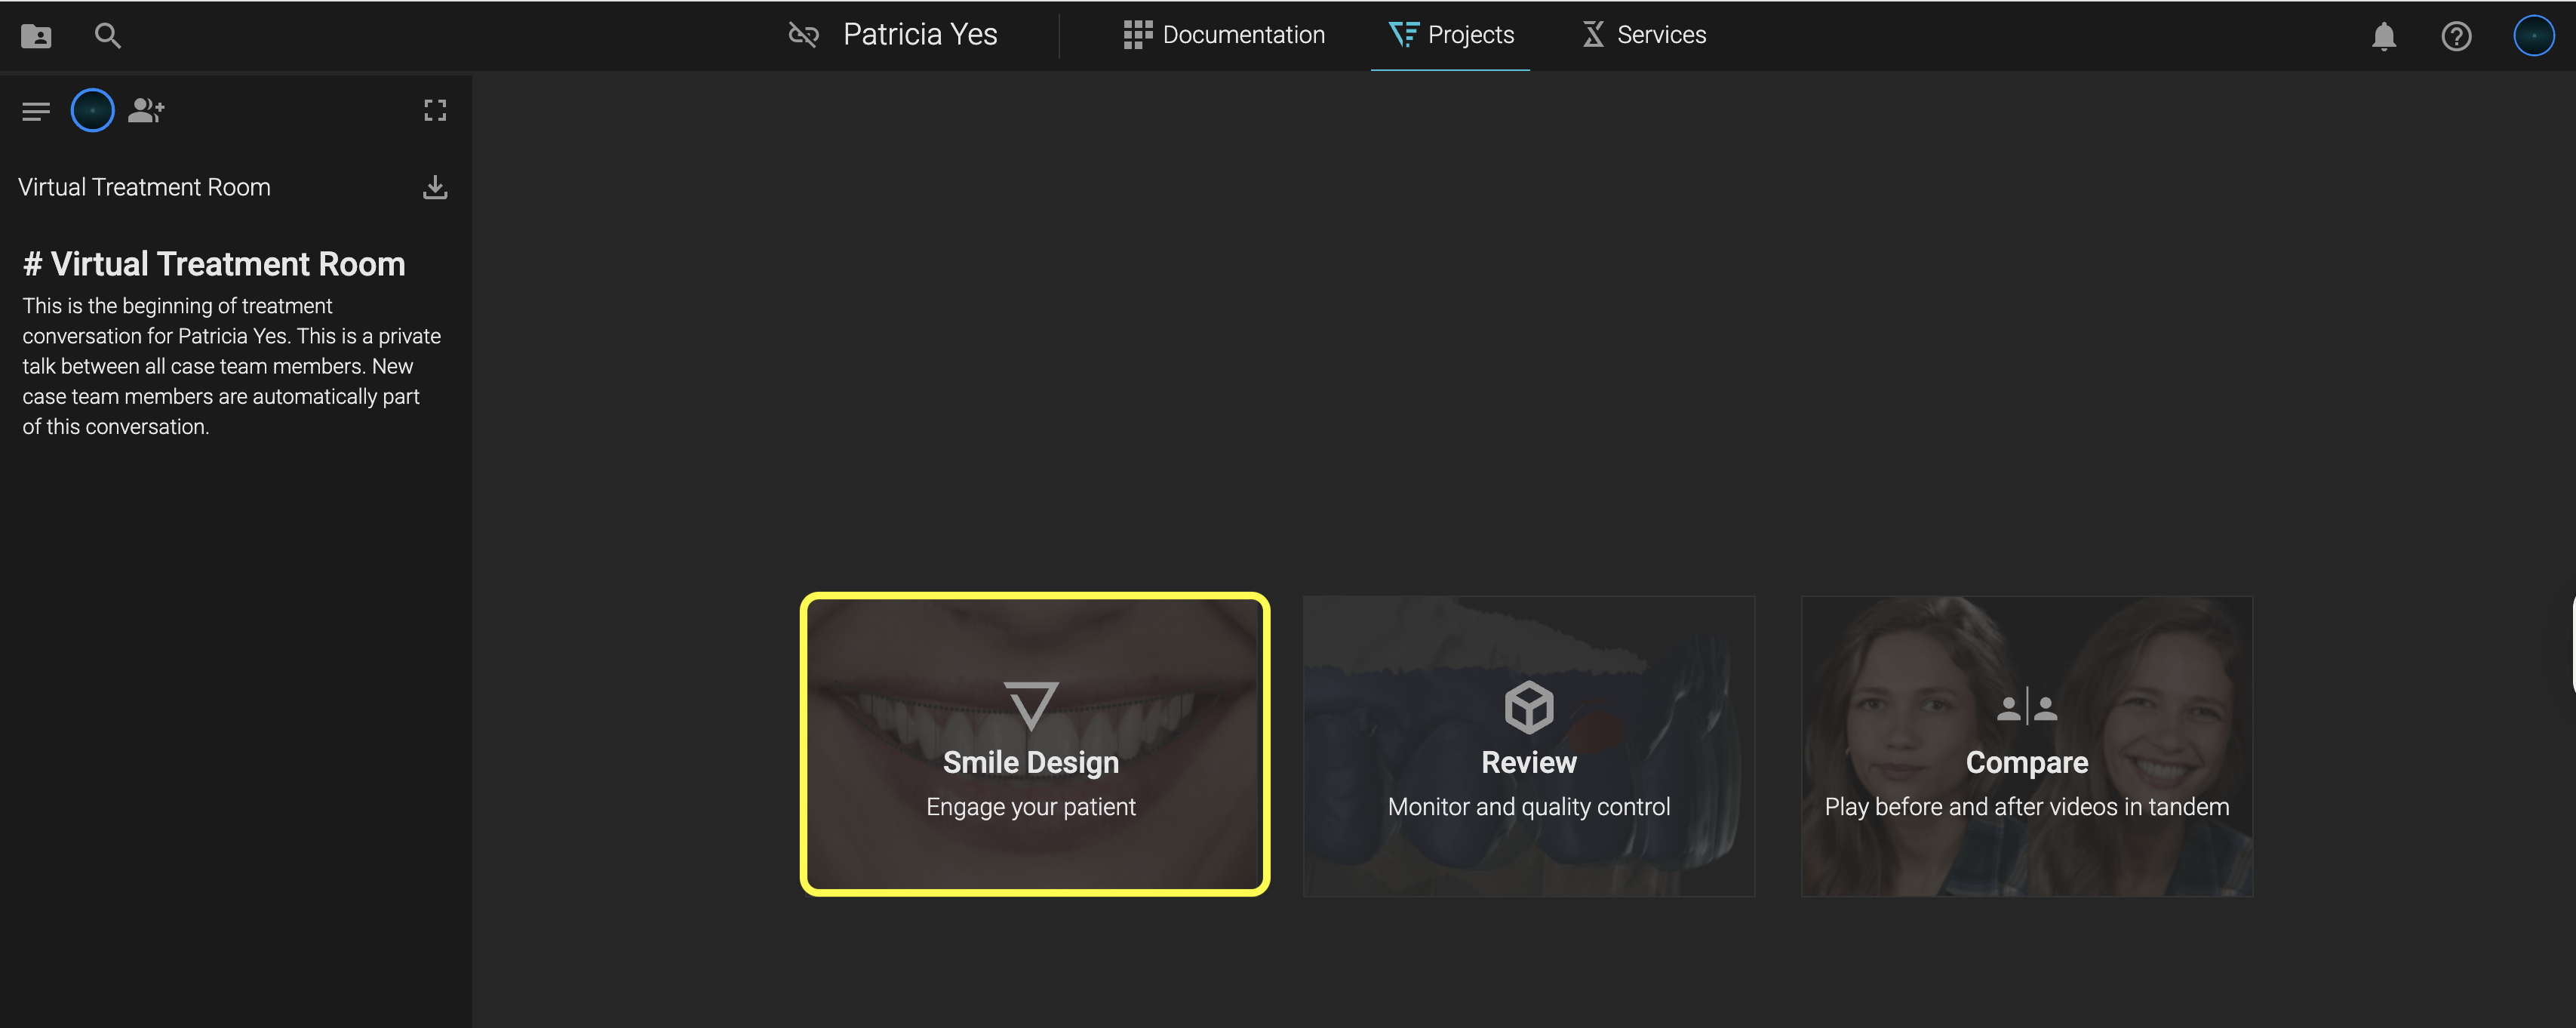
- Select Smile Design
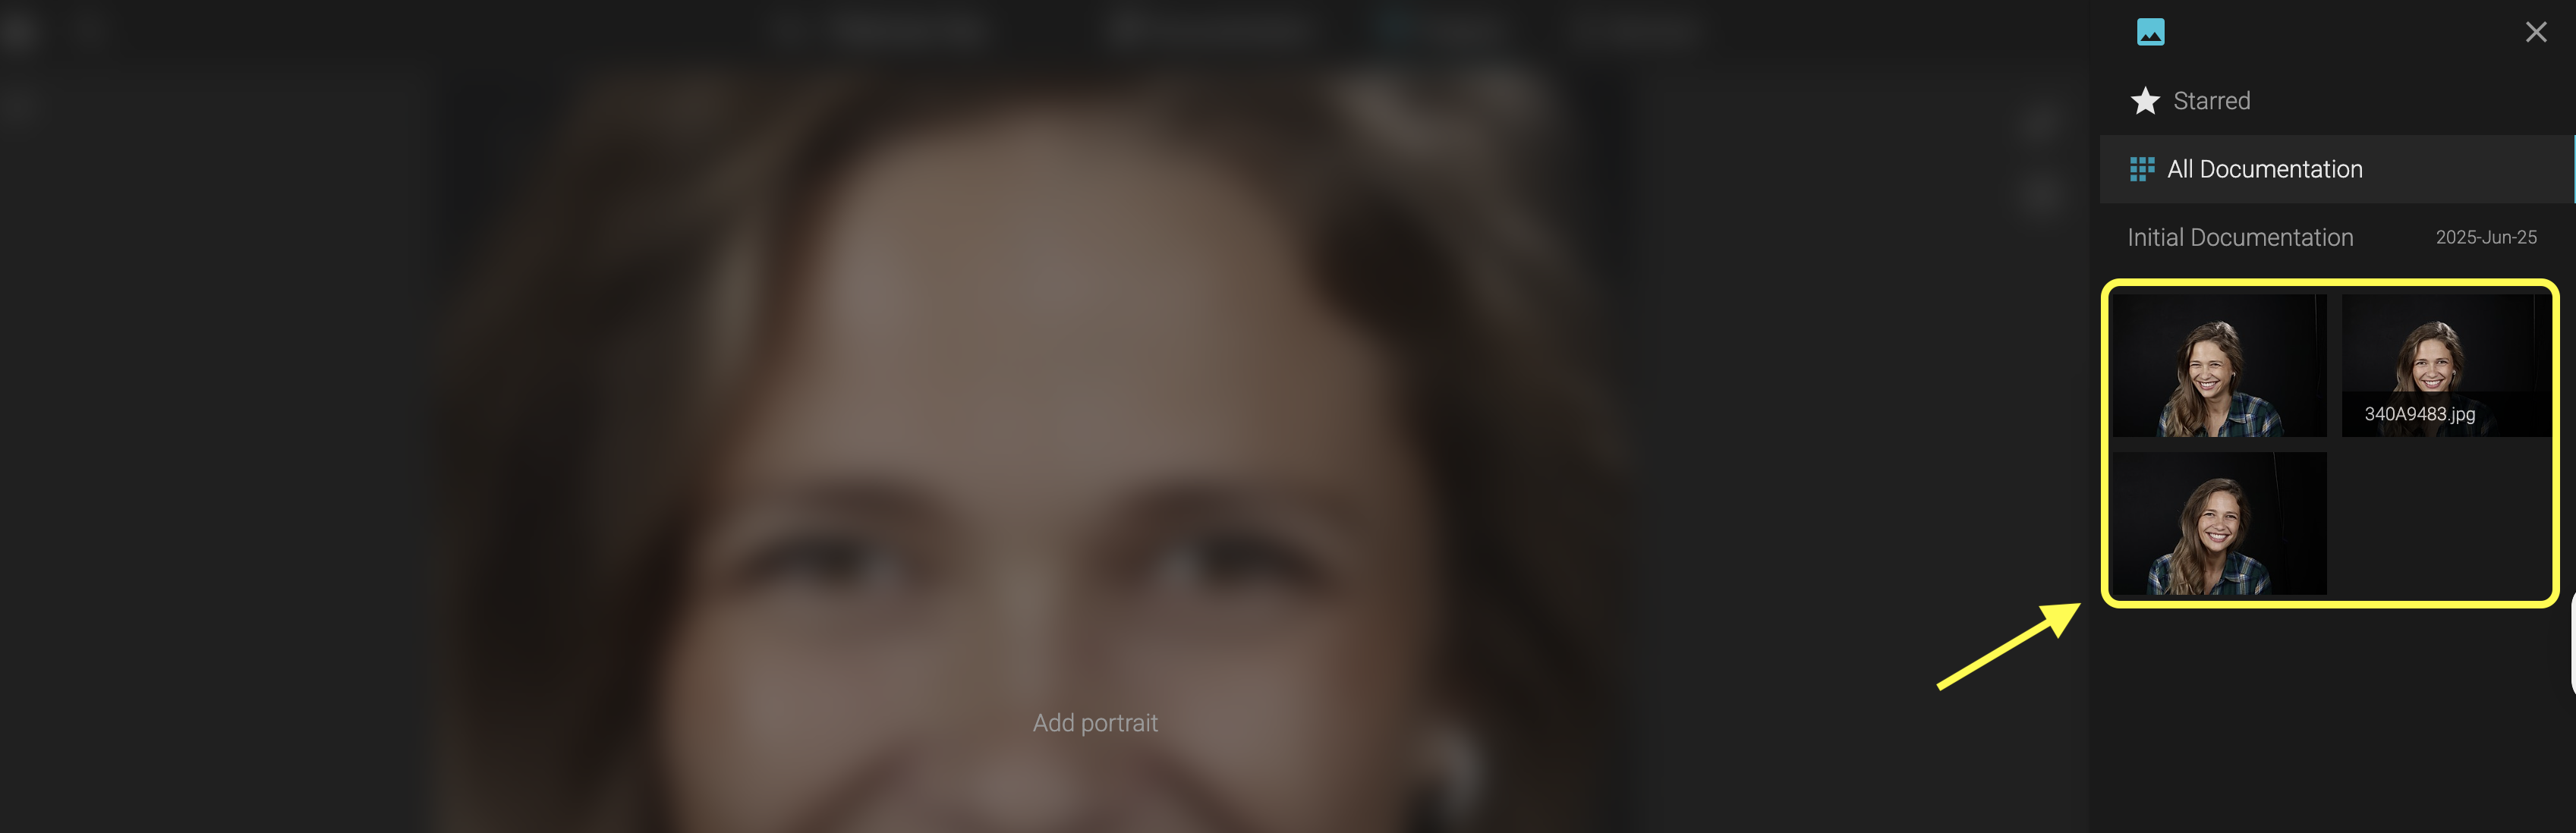
- Choose your portrait from the right-hand panel
- Explore AI-generated Smile Design Proposals
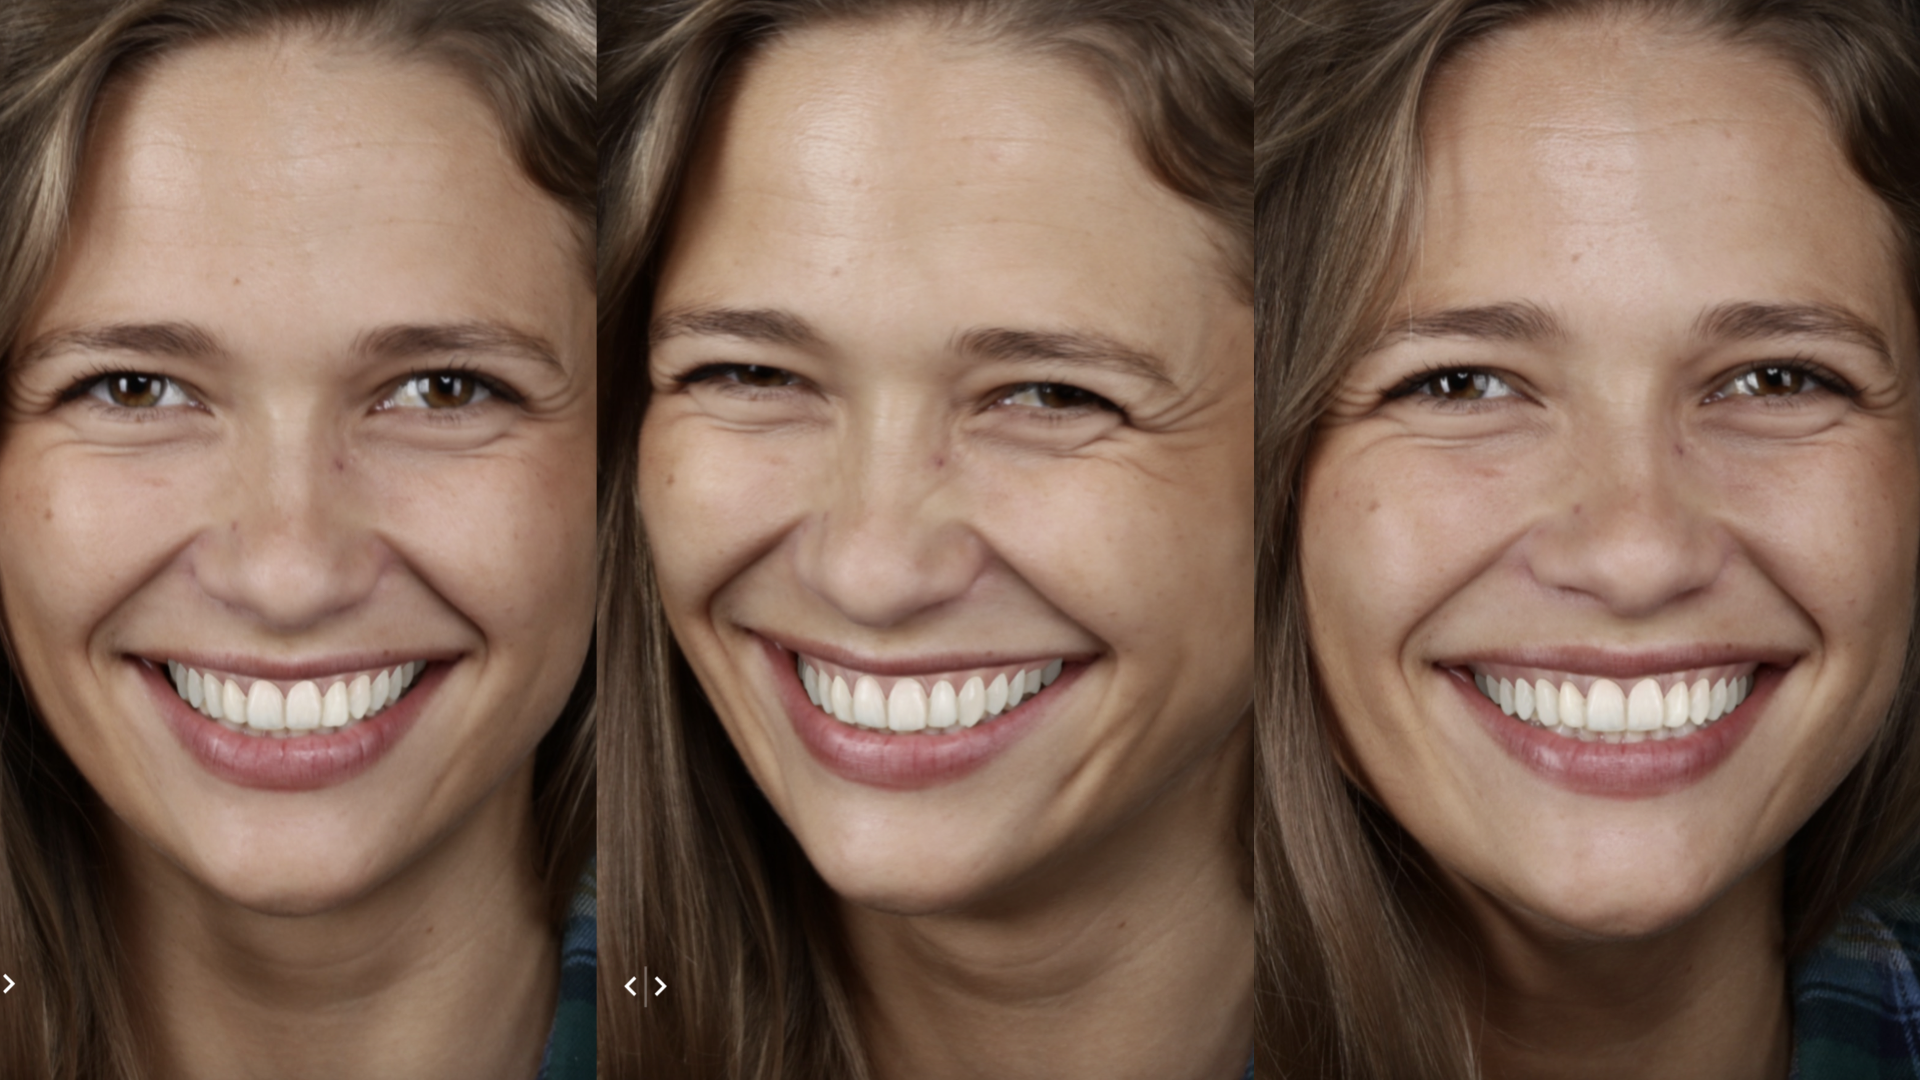
The great thing is that you can design using portraits from any angle, which gives you more freedom and more perspective. Here are some examples:
✅ Libraries and "The Gimbal"
Click on any tooth or press the G key to activate The Gimbal — your full control panel for library shapes. Customise shapes, scale, proportions, and positioning
- Scale (bigger or smaller): Drag outer circle
- Rotate (horizontal axis): Drag inner circle
- Vestibular/Buccal movement: Push/pull the center arrow
- Rotate on its own axis: Hold Cmd/Ctrl + drag
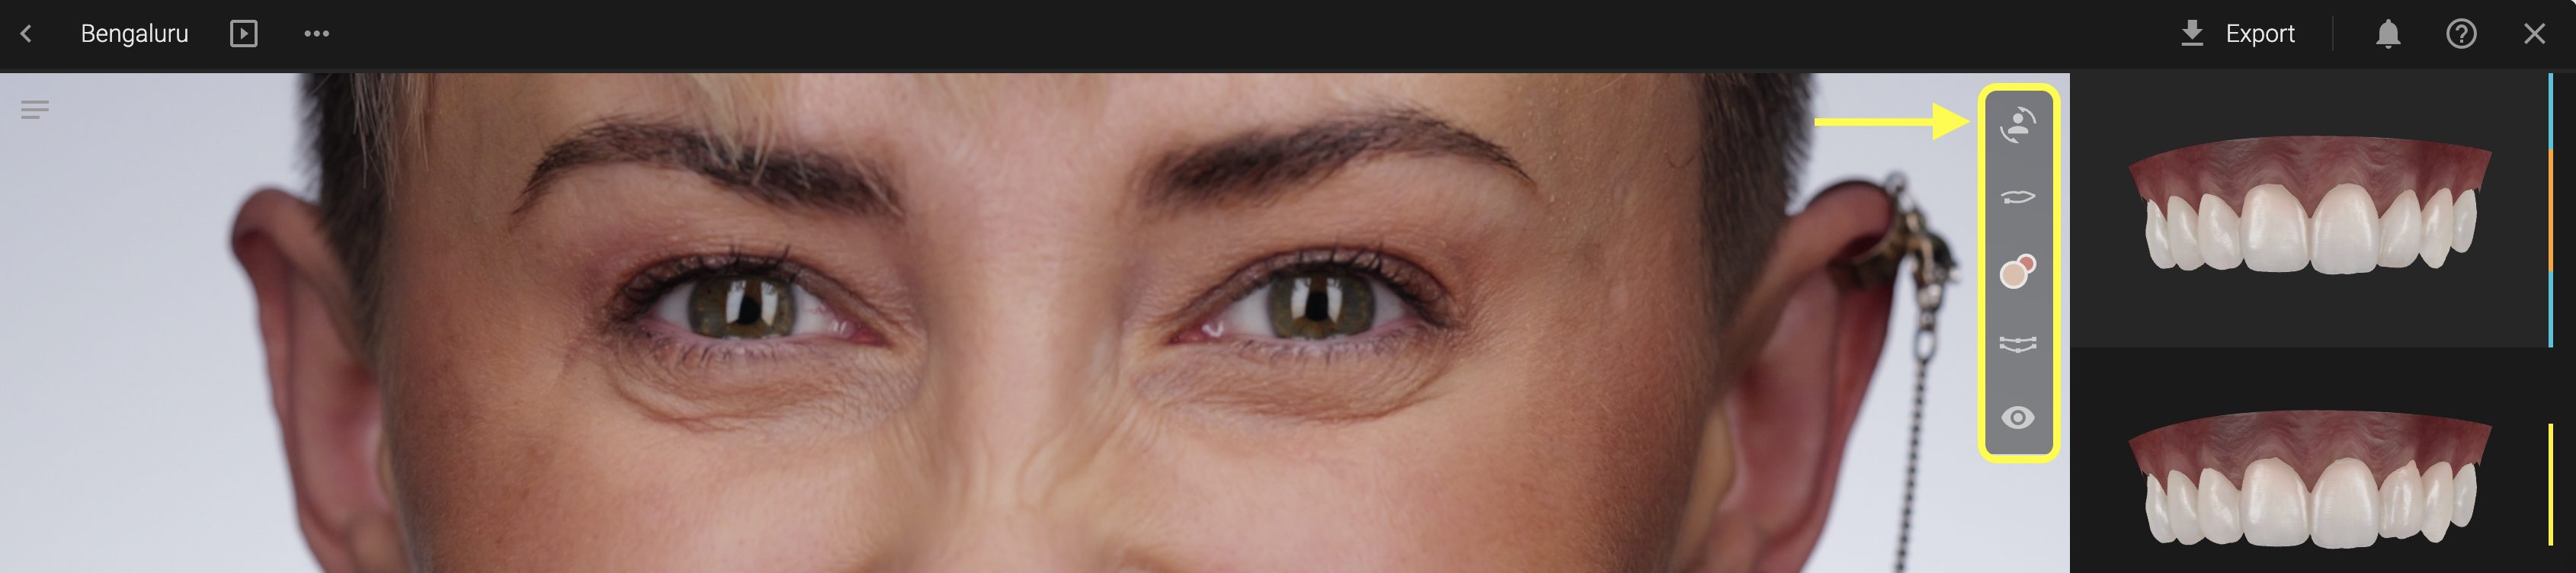
✅ Design Toolbox - Personalise Design
The simplified Design Toolbox helps you get to results faster.
🎯 Adjust Portrait Position
- Click the first icon in the toolbox to adjust the portrait position
- Use guidelines (drag from top/left) to align facial features
- To remove a guideline, just drag it out of the canvas
🎯 Edit Lip Contour
The lip line is AI-detected but can be refined manually:
- Click directly on the yellow line to add points
- Drag any point to reposition
- Select and hit Delete to remove a point
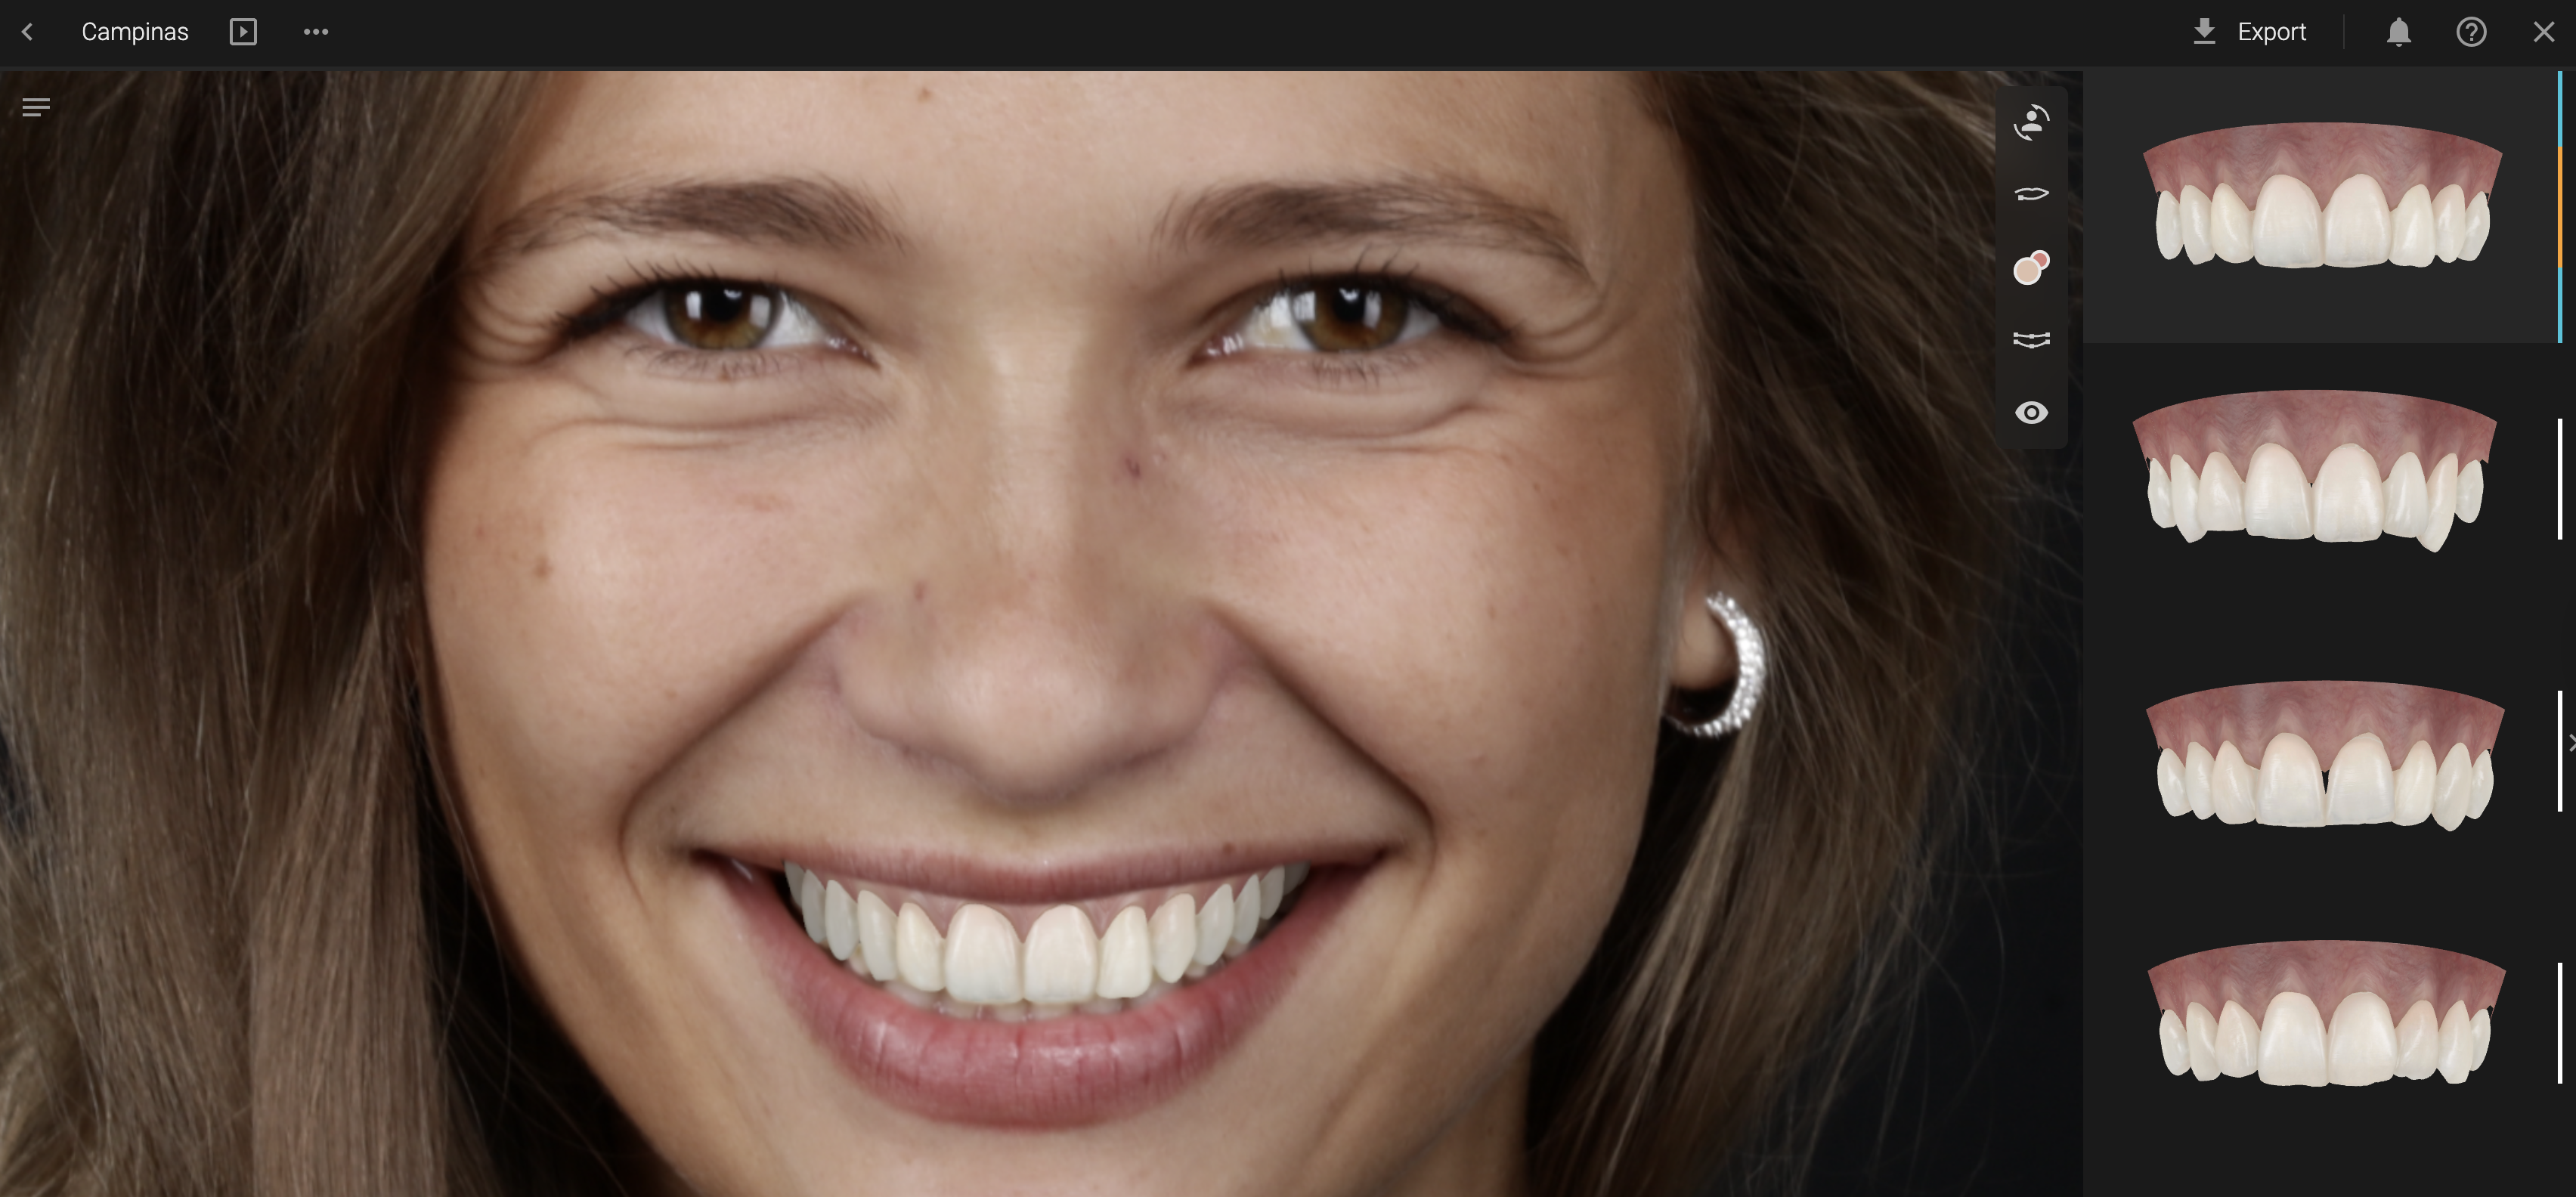
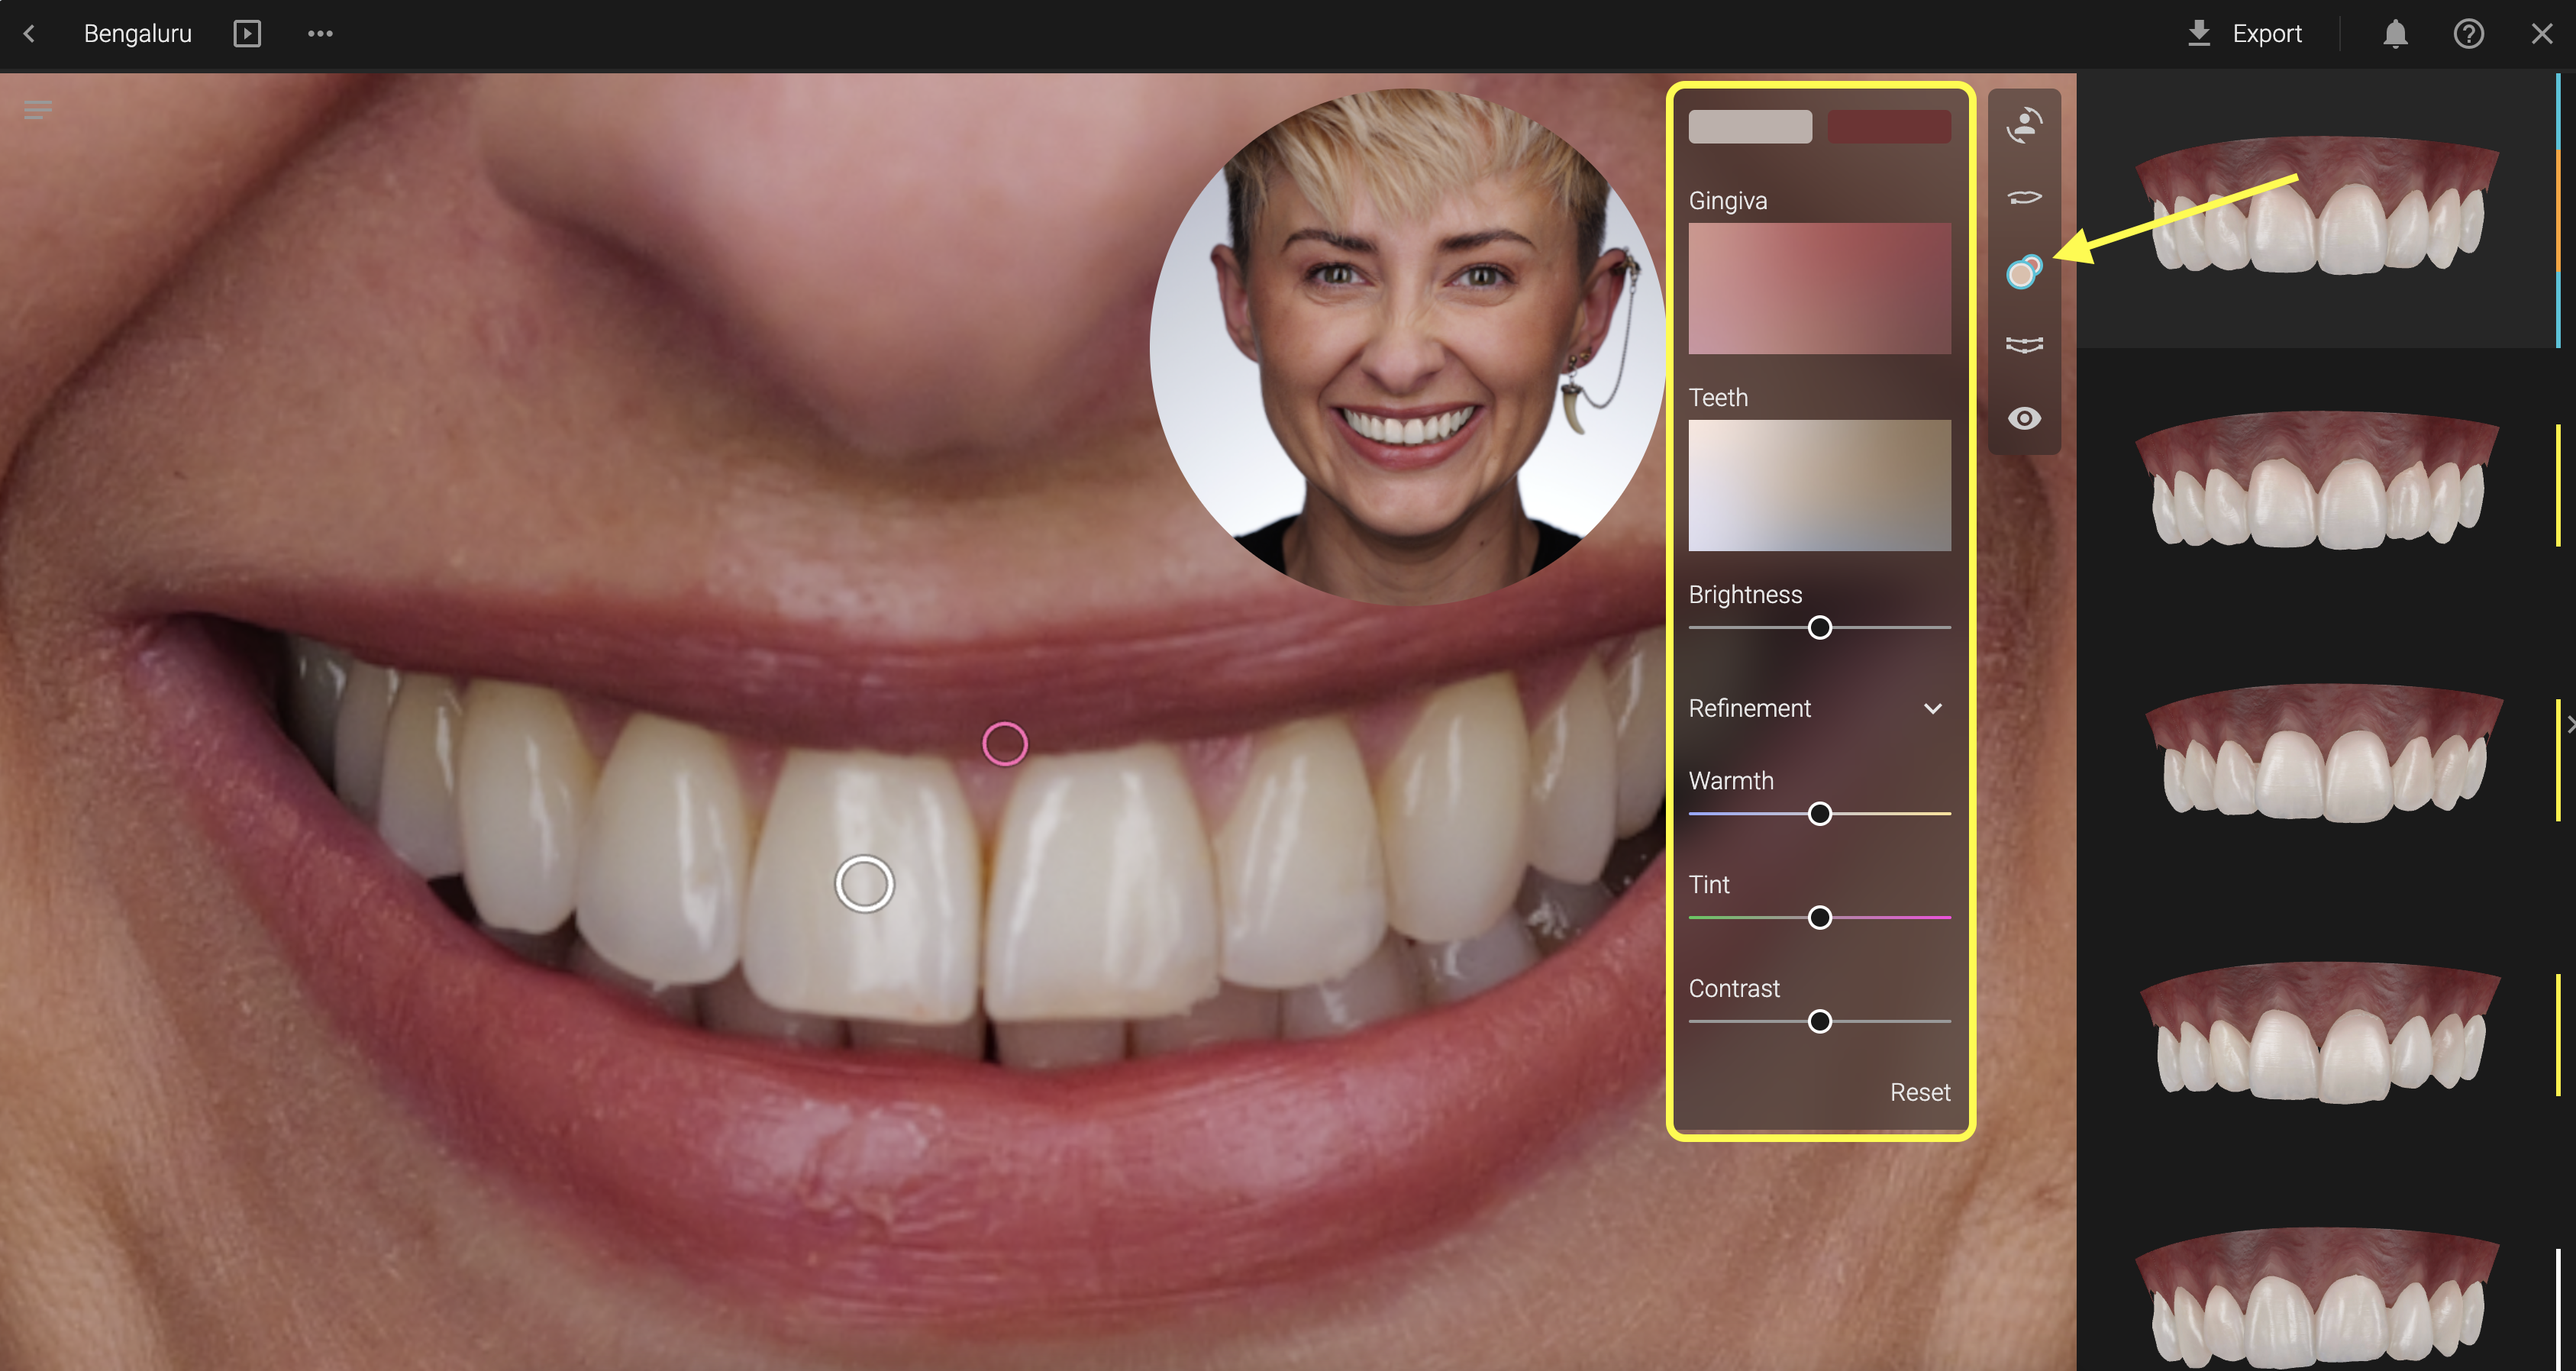
🎯Adjust color of Gingiva and Teeth
Enhance realism with advanced color tuning:
- Adjust Gingiva color
- Fine-tune Teeth Value & Chroma
- Modify Hue to warm up or cool down the smile
🎯Adjust Restorative Space
AI gives you a head start — you're in control from there:
The symmetry button when turned on, will allow you to make symmetric adjustments on both arches. Turned off, will allow you to make asymmetric adjustments on the restorative space. This is valid for any adjustments you will make.
The Papillas button activates the papillas toolkit, allowing you to position them according to your restorative space.
- Move restorative space - higher, lower or to the sides
- Adjust Smile Curve - Grab the outer corners of the restorative space and drag them to the desired position.Turn the Symmetry control on or off.
- Adjust proportions - Horizontal or lateral. Turn the Symmetry control on or off.
- Adjust arch dimension - To match a narrow or a wide arch. Turn the Symmetry control on or off.
- Adjust Papillas - Click the Papillas button, and drag the papilla points with your mouse. An automatic % number will appear. This is the ratio between the length of the tooth and papilla length.
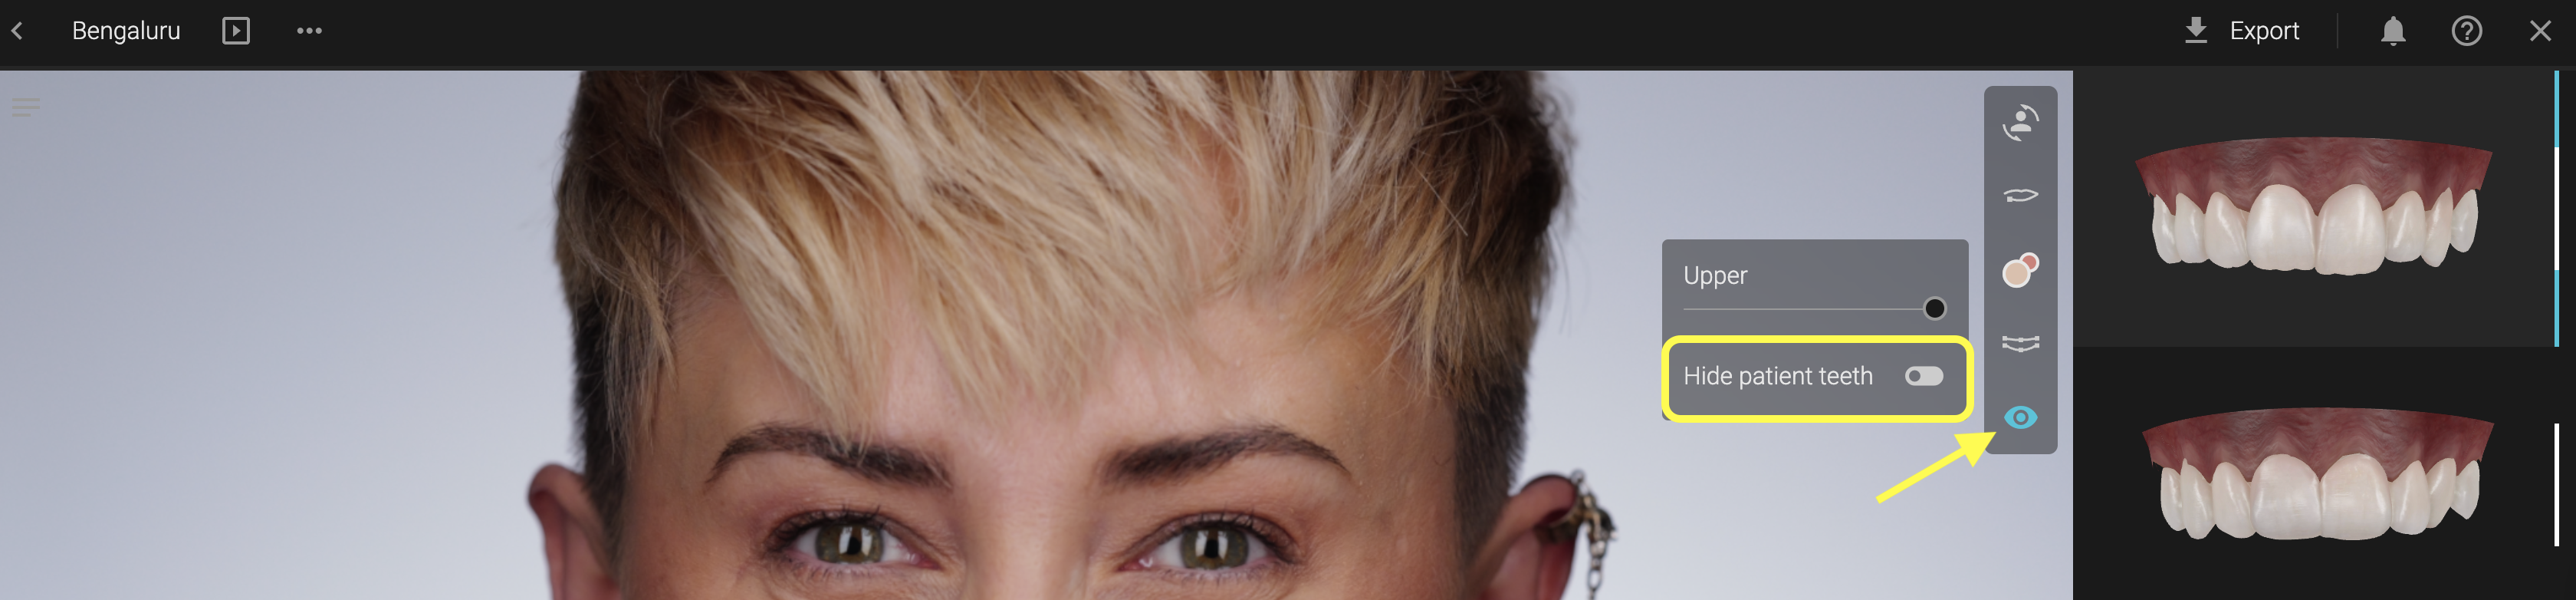
✅ Hide Patient teeth
Perfect for cases where your design shortens the natural teeth. Simply toggle to hide original dentition and visualize only your design.