
Upload and Visualize CBCT Files
What you need to know
Wondering how to upload your CBCT scan and visualize it like a pro? Follow these steps to make sure your files upload correctly and are ready to use in Smilecloud.
🔼 Step 1: Prepare Your Files
Before uploading:
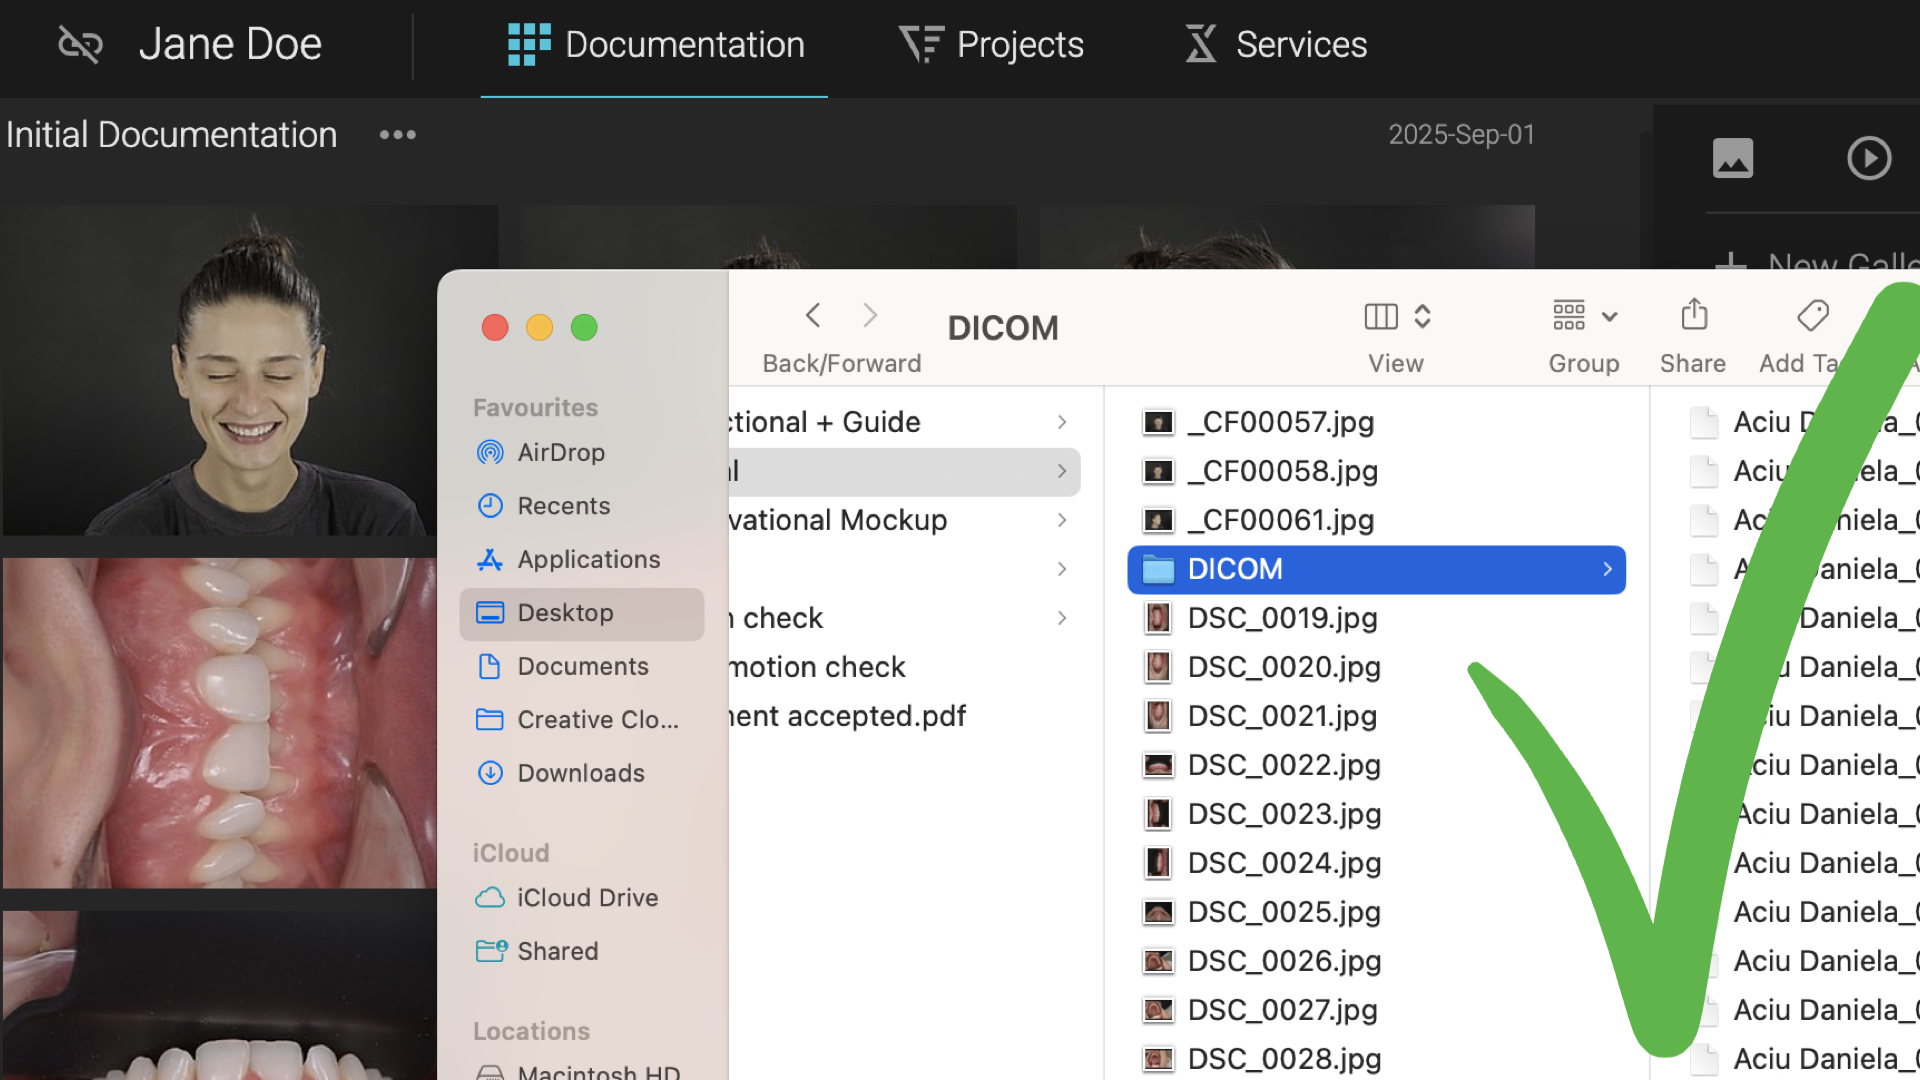
- ✅ Unzip first – don’t upload compressed
.zipfolders. - ✅ Select only
.dcmfiles – these are your CBCT slices. - ✅ Select all slices – so your scan uploads completely.

🚫 Skip .exe files – sometimes they appear in CBCT folders but are not needed.
🚫 Skip the “info” file – it’s not required.
🖱️ Step 2: Upload to Smilecloud
- Select your prepared
.dcmfiles. - Drag & drop them into the Documentation section of your case in Smilecloud.
- Once the upload is complete, your CBCT will appear in your gallery.
🔎 Step 3: Find and Visualize
Use the DICOM filter in your gallery to quickly find your uploaded scan.
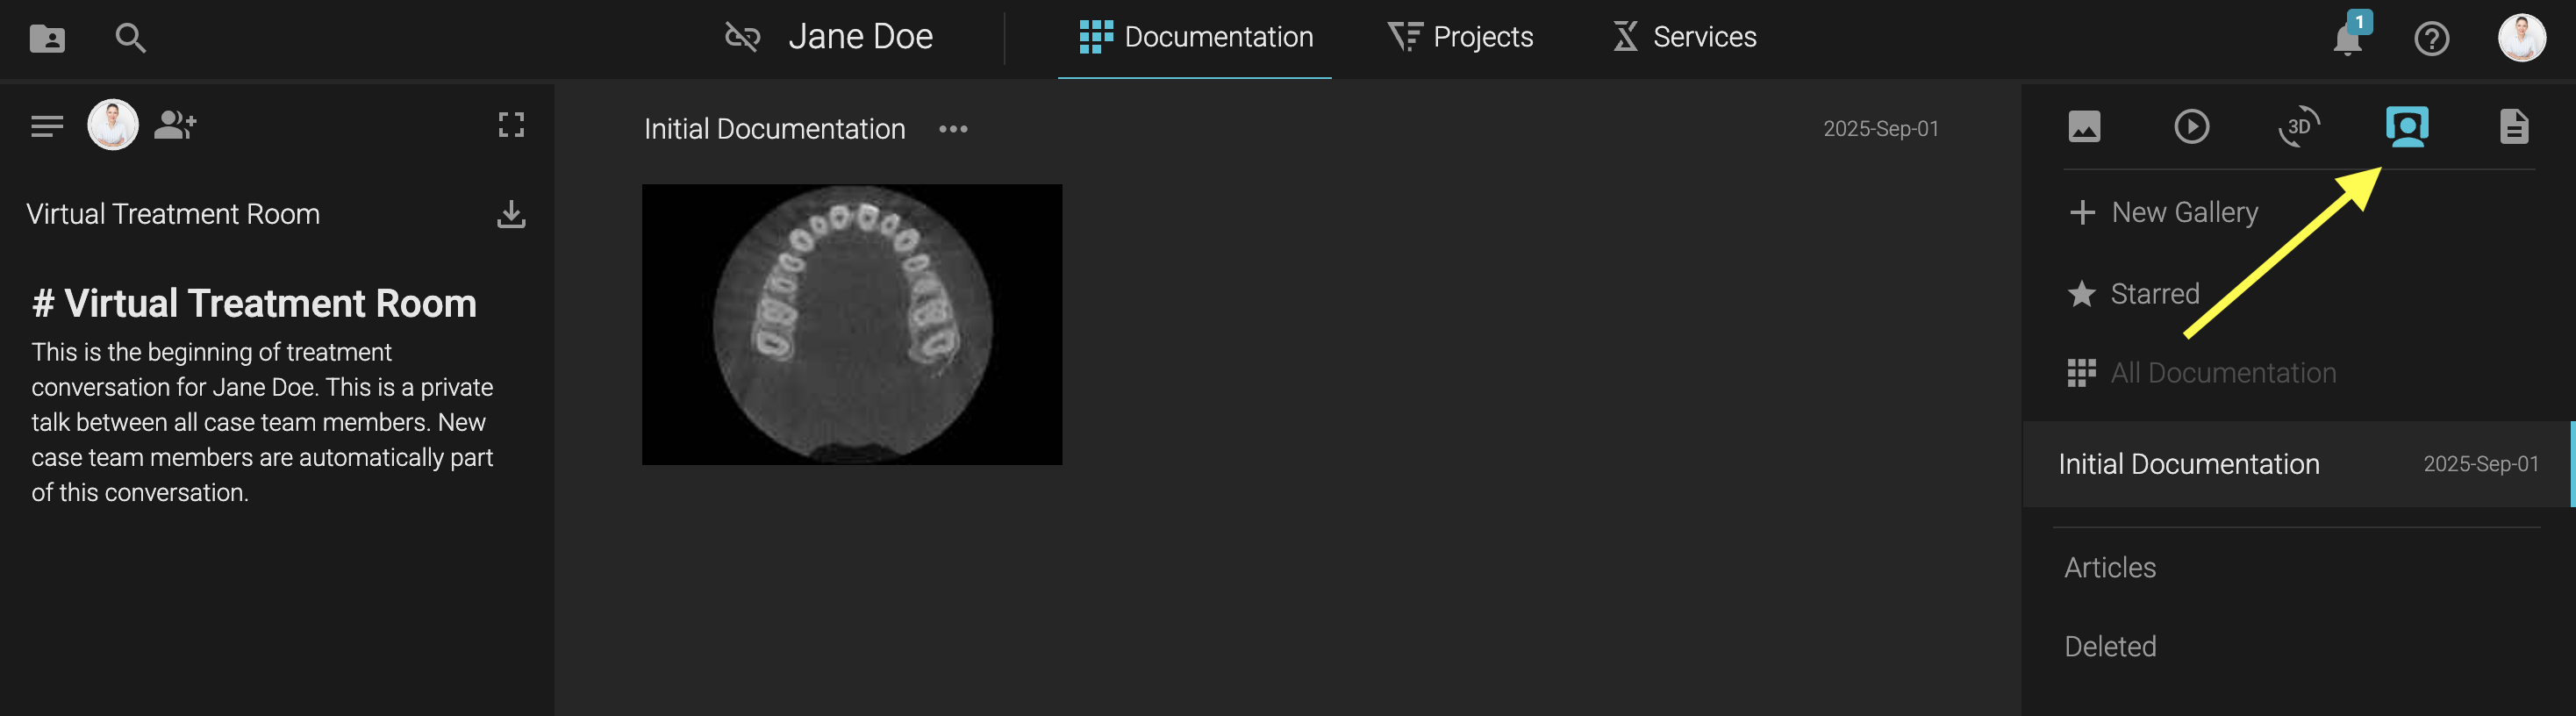
✨ Once uploaded, you can:
- 🔍 Visualize it in 2D planes for precise viewing.
- 🖤 Convert it into an STL to explore as a 3D object
👉 Note: CBCT-to-STL conversion is available for Trial and Business accounts.
✅ Quick Tips
- Always include all
.dcmslices for a complete upload. - Upload times may vary depending on your file size and internet speed.
- Files are stored securely and can be accessed anytime in your Smilecloud workspace.
👉 That’s it! You’ve successfully uploaded and prepared your CBCT in Smilecloud — ready to explore in 2D or 3D.